As previously noted, I found a YouTube tutorial about sculpting feathers which I thought would work for my sculpture of Lura's wingy ears. Unfortunately, you can't hear squat because the sound quality is so poor. I have therefore decided to adapt Kriddles Couture's tutorial to still photos with text instructions.
First, acquire a sculpting medium and a sculpting tool. For me, the first is Play-Doh, the second a craft blade.
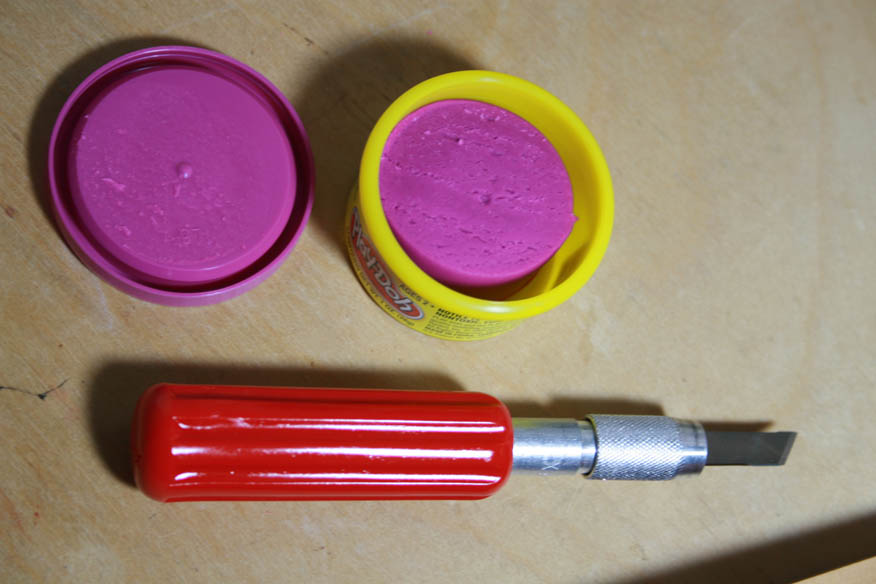
Second, break off a small piece of sculpting medium.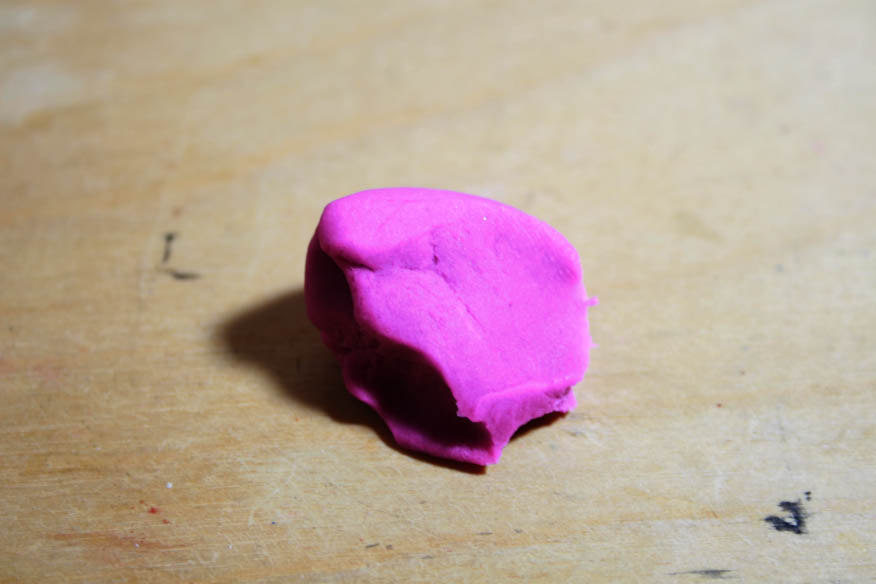
Third, flatten the sculpting medium in a rough banana shape.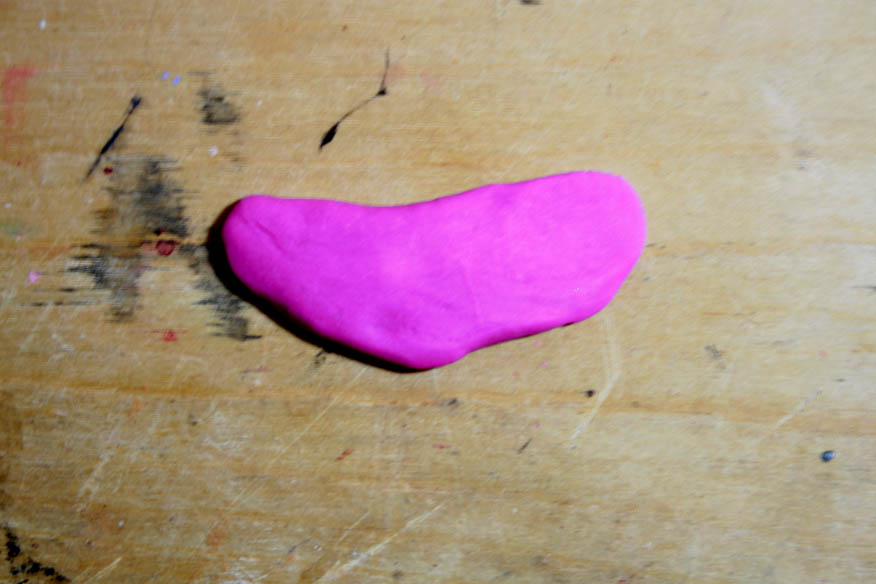
Fourth, squeeze the tips of the "banana" to points.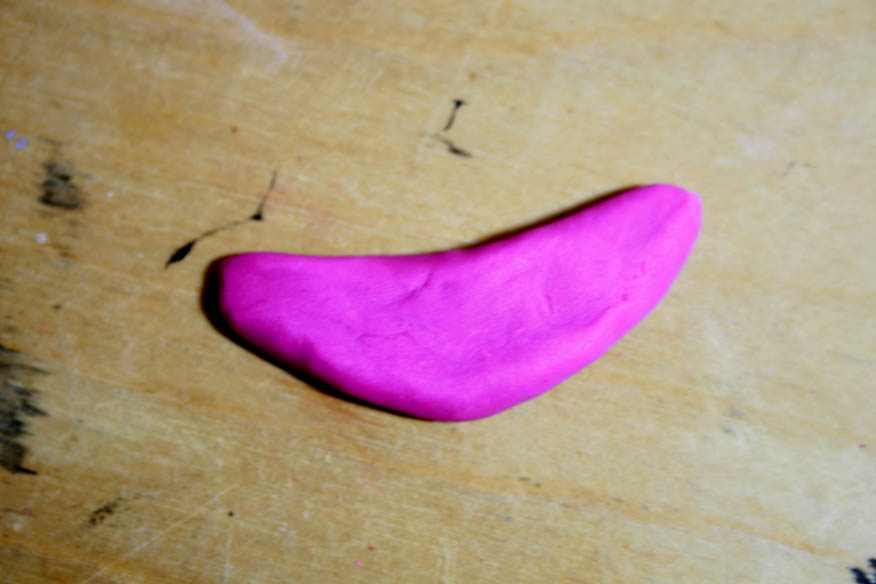
Fifth, use the sculpting tool to score the "banana" down the center as shown below. Be sure not to cut the "banana" completely in two. This line corresponds to the rachis, or "stem," of the feather.
Sixth, score lines as shown below on either side of the shaft. These lines correspond to the barbs of the feather. Again, don't cut all the way through the "banana."
Seventh, cut little wedges out of the barbs on both sides of the rachis as shown below.
Hey look — it's a stylized feather! Repeat ad nauseam.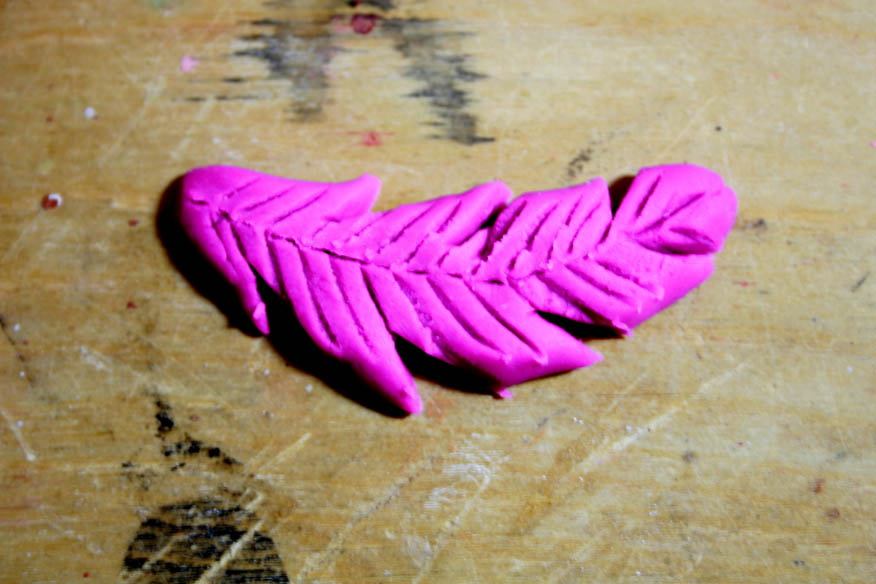
You're welcome.