This was going to be a lavishly illustrated extravaganza, but I never got around to taking the requisite photos. Hopefully it’ll help anyway…
—
Over in a Figurvore thread on an episode of Zombieville, katydid asked me about making a wig tutorial. Following are my comments on making wigs of faux fur for your dolls. I prefer [prefur? :p ] faux fur because its garish colors suit my signature LOUD style and its lofty pile hides my messy stitching and/or hot gluing. Rest assured, however, that you can still apply these techniques on naturalistic faux furs with neat and tidy results.
Please note: My method involves no measurement and lots of trial and error. If you want to find out how to make a fur wig by means of exact measurements, this is not the tutorial for you.
The construction of a faux fur divides into two sections. First, you create a pattern. Second, you actually make the wig.
Your average 1:6 scale action figure has a head somewhere between 3 and 4 inches in circumference. [Wigs are usually mentioned in inches; I’m not just being a chauvinist for imperial units here.] However, the head circumference varies widely from doll to doll, so I advocate the creation of a wig pattern specifically for your chosen doll.
Before I tell you how to make a wig, let’s discuss the grain of the faux fur — also known as the direction in which the fibers lie.
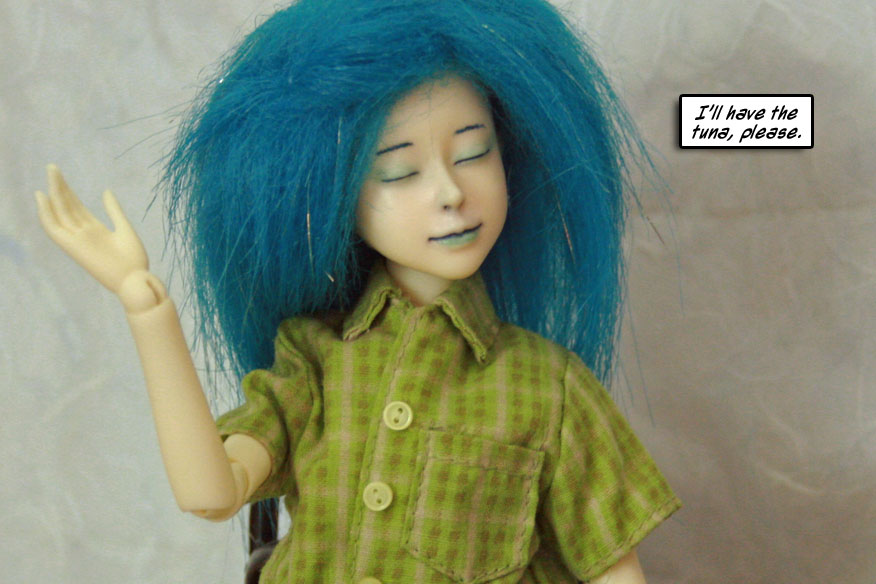
The fur wig below is sewn with the grain of both sides pointing in the same direction. If the grain of the fur flows down from the crown, the hair on the wig will point down in compliance with gravity. This wig’s grain is pointing down from the crown. See below.
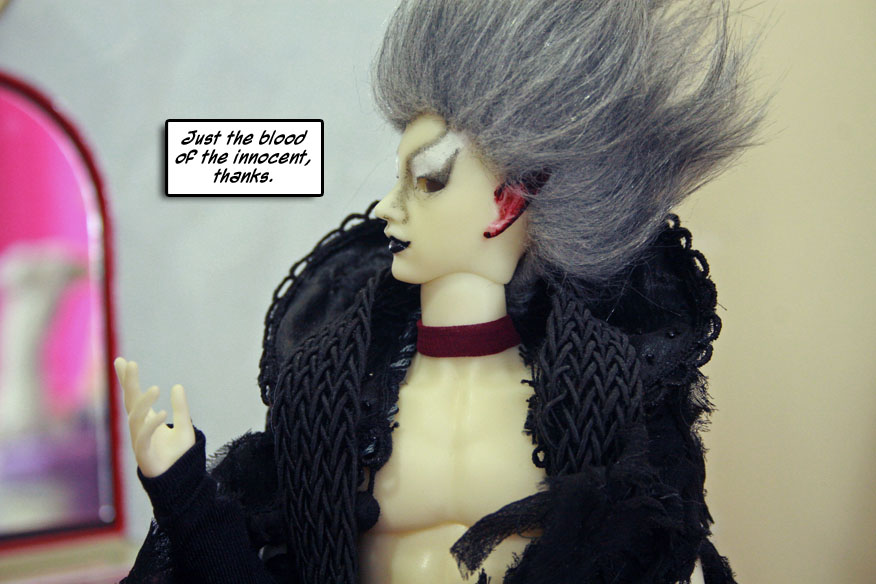
If the grain of the fur flows up from the straight edges, the hair on the wig will point up with a nifty anti-grav effect. This wig’s grain is pointing up from the crown. See below.
The direction of the grain in your wig depends on what kind of effect you want, so I won’t tell you which way to make it point. Just check the grain before cutting.
Anyway, let’s make a pattern. To make a pattern, you will need faux fur, a pen or marker, a craft knife, either hot glue or needle and thread, scissors and scrap paper. You will also need a computer and access to a printer. Since you will be drafting several patterns [at least I was], use faux fur to which you are not particularly attached…or which you have a lot of.
Before you start cutting anything, print out the PDF pattern that I have supplied. It may be too big, too small, too shallow or too deep, but it will give you something to work with. Take note of the 1” line on the PDF. If you print out the PDF and that line does not measure 1”, you’ll need to reconfigure your printing options. If you print out the PDF and that line = 1”, congrats! You’re ready to start.
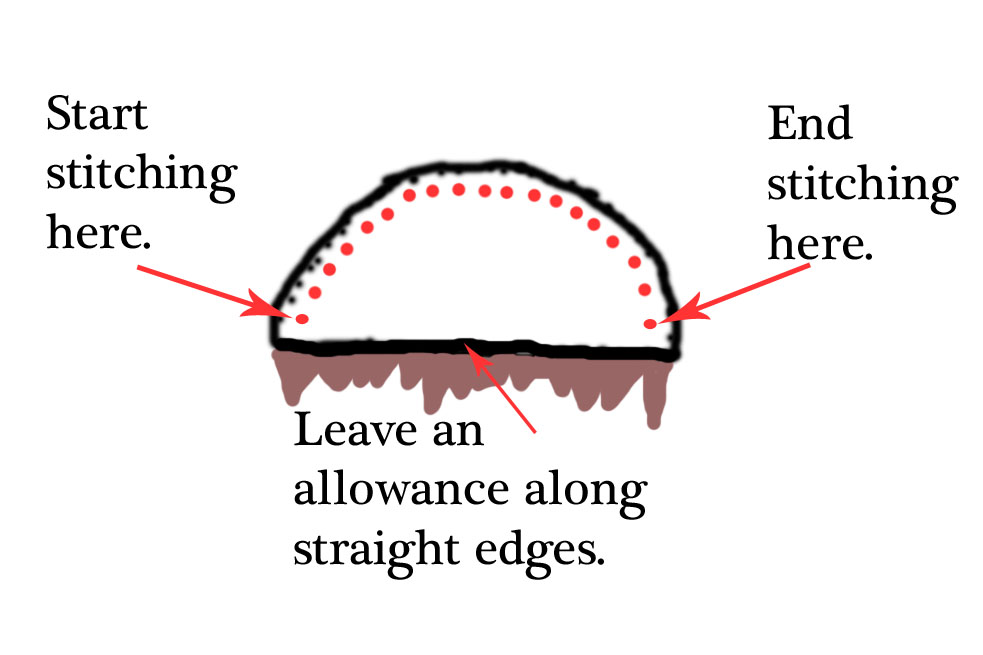
Cut out the PDF pattern. Note that it looks like two semicircles side by side. You’ll be stitching the curves together, while the straight edges may or may not be hemmed. Even if the wig created with this initial pattern ends up a bust, you can use this pattern as a basis for future alterations and experiments. Label it something like “Pattern #1.”
Now place the pattern on the backside of the faux fur.
Before you cut your faux fur, check the right side to see which way the grain of the fur is going. Yeah, I know we’re just making a pattern, not the final wig, but let’s get into the habit of checking before cutting.
Now that you have the grain of your faux fur pointing in the appropriate direction, trace around the pattern. Don’t worry too much about exactitude. I always like to leave a margin for hemming, as I can always trim things down, but I can’t magically increase the square area of fabric that’s too small!
Cut the wig shape out of the faux fur with a craft knife. The trick here is to cut the backing, but not the faux fur fibers themselves. I do this by either a) repeatedly stabbing the backside along the traced line to create perforations or b) holding the fur taut and then drawing the craft knife repeatedly over a small section of the traced line until it parts.
Now you can put the draft wig together. Fold the wig shape right side to right side so the result looks like a little cap or an upside-down pocket with all the fur on the inside. You can secure it in this doubled position either with pins or with your own grip. I find that pins get in my way, so I just hold the edges together.
Stitch along the curved edges of the folded wig shape, binding them together. Thread color is best chosen to blend in with the color of the fur. Blanket stitch is probably strongest, but since I wouldn’t know a blanket stitch if it made off with my blankets, I use a hemming stitch. Use a small needle, or else the needle + thread will just slide right through the holes you pierce.
Start your stitching NOT at the corner where arc of semicircle meets straight edge, but slightly above. You want to leave a little allowance for the seams along the straight edges.
Remember that you’re essentially creating the center part in the wig, so ensure that the halves of the wig shape are aligned evenly throughout your entire stitch, especially the bottom corners. Also try to keep your stitch an even distance from the edges of the paired semicircles, as great variation therein will make a lumpy, unrealistic center part.
End your center part stitching slightly above the second set of the semicircles’ corners. Again you’re leaving a little allowance for seams on the straight edges.
You can also fasten your wig shape together with hot glue along the matched arcs, but I do not recommend it. It’s very easy to push too much glue between the sides and create an uneven, bumpy part. Furthermore, hot glue will stiffen the faux fur so that it will not conform realistically to your doll’s head.
Now you have an inside-out wig with unfinished straight edges. Hem the straight edges by turning a small amount of faux fur under the inside edge. You can either sew it there or use hot glue. I’m impatient and easily bored, so, after I’ve sewn the center part of a wig, I usually finish off the straight edges with hot glue.
If all goes well, you can flip your creation inside-out and gaze with abject wonder upon your very own rough draft wig! Once you have gazed sufficiently, test fit the wig on your doll.
The rough draft wig will almost certainly not fit. The crown might be too high or too shallow, the sides too short or too long. Or perhaps everything looks good, but one side is longer than the other, or your stitching made some odd bump in the center part. Or, if you’re like me, you see several of these problems at once in the wig you’ve just completed.
Now comes the trial and error part. Take note of what adjustments you need to make and where you need to make them. I’m sure you could probably use a ruler or tape measure here for super precision, but I myself just eyeball it.
If you need to expand parts, it’s pretty easy. Trace your Pattern#1 shape [remember that?] onto a new piece of scrap paper. Draw the areas of expansion. Then cut around the new expanded outline to create a second draft of your wig pattern. Label “Pattern #2” and go through steps of wig construction as stated above.
If you need to reduce the size of certain parts, you can make a duplicate of Pattern#1, trim down as necessary, then use the trimmed pattern as a base for your next wig’s iteration.
Basically you keep drafting patterns and testing fits until you end up with a pattern that works.The trial and error helps you determine an exact fit, and it also helps you practice your sewing skills.
When you have made a pattern that finally fits the way you want it, label it “Final Draft” and then make a backup. Since I use notebook paper for my patterns, I reinforce my final pattern with some clear tape at the narrow section where the two hemispheres join. That way it won’t rip apart so easily.
Now go forth and make hair!
This entry was originally posted at http://modernwizard.dreamwidth.org/1691824.html. You can comment here, but I’d prefer it if you’d comment on my DW using OpenID.