I’ve been improving my 1:6 scale power wheelchairs in recent months, and I finally finished my steampunkish power chair. Pics below.
The base of the chair — lower frame, footplate, and wheels — comes from a Drastic Plastic FDR doll who came with a super cool but very fragile wheelchair as an accessory. This set, being issued 16 or 17 [!] years ago, is pretty much antique in 1:6 scale terms, not to mention incredibly rare. So what better way to use it than by modifying it into complete unrecognizability in the inimitable MW way?
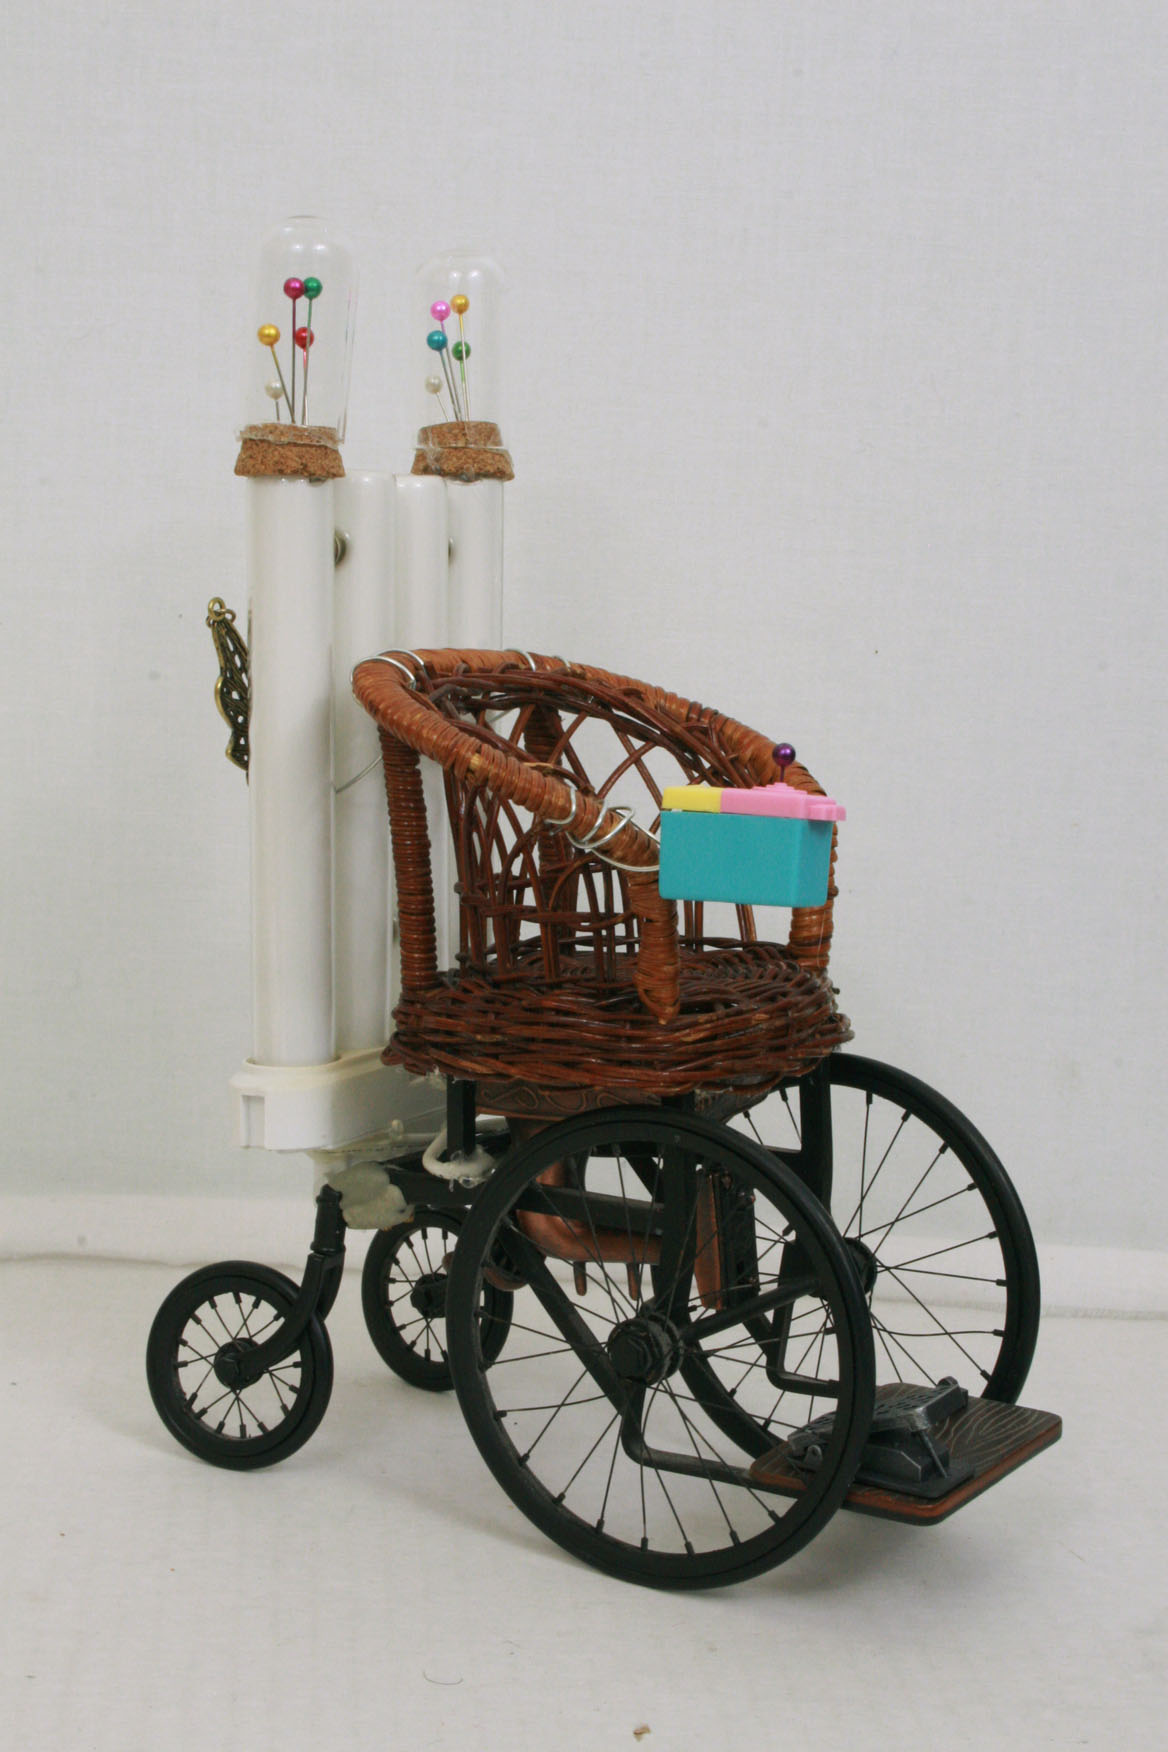
I used a generic 1:6 scale wicker chair for the seat to recall the wicker seats used in very early wheelchairs / bath chairs / invalid chairs. I have no manufacturer for the chair, but they’re all over Ebay for cheap, usually in white or light tan. I chose a brownish chair to blend with the dark frame. I hacked off the legs and secured it onto the wheel base with [of course] HOT GLUE!!!
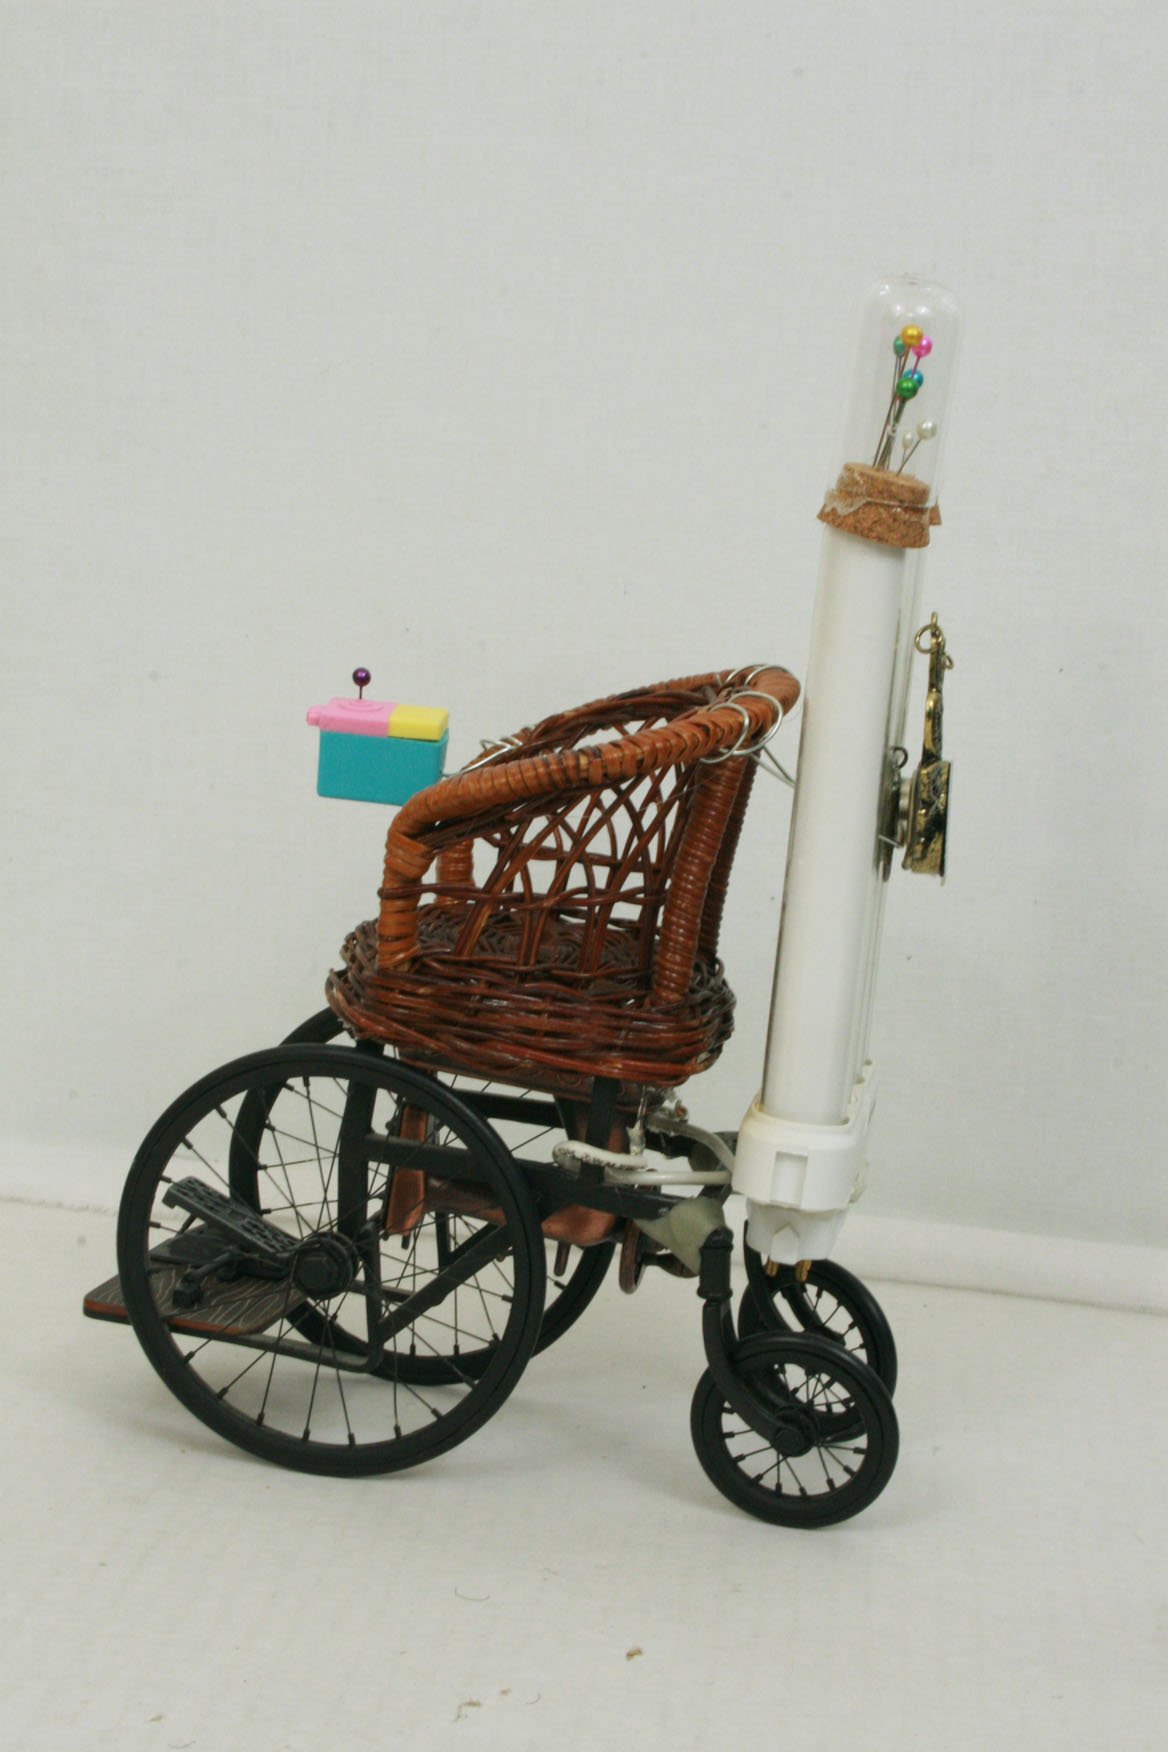
I added a brake pedal to the footplate from the Hot Toys Sweeney Todd barber chair. A few years ago, I bought the chair just so I could take it apart and make something steampunkish with it, but I never finished. The chair moved on to a friend, but I kept some of the smaller gears and pieces for purposes such as this.
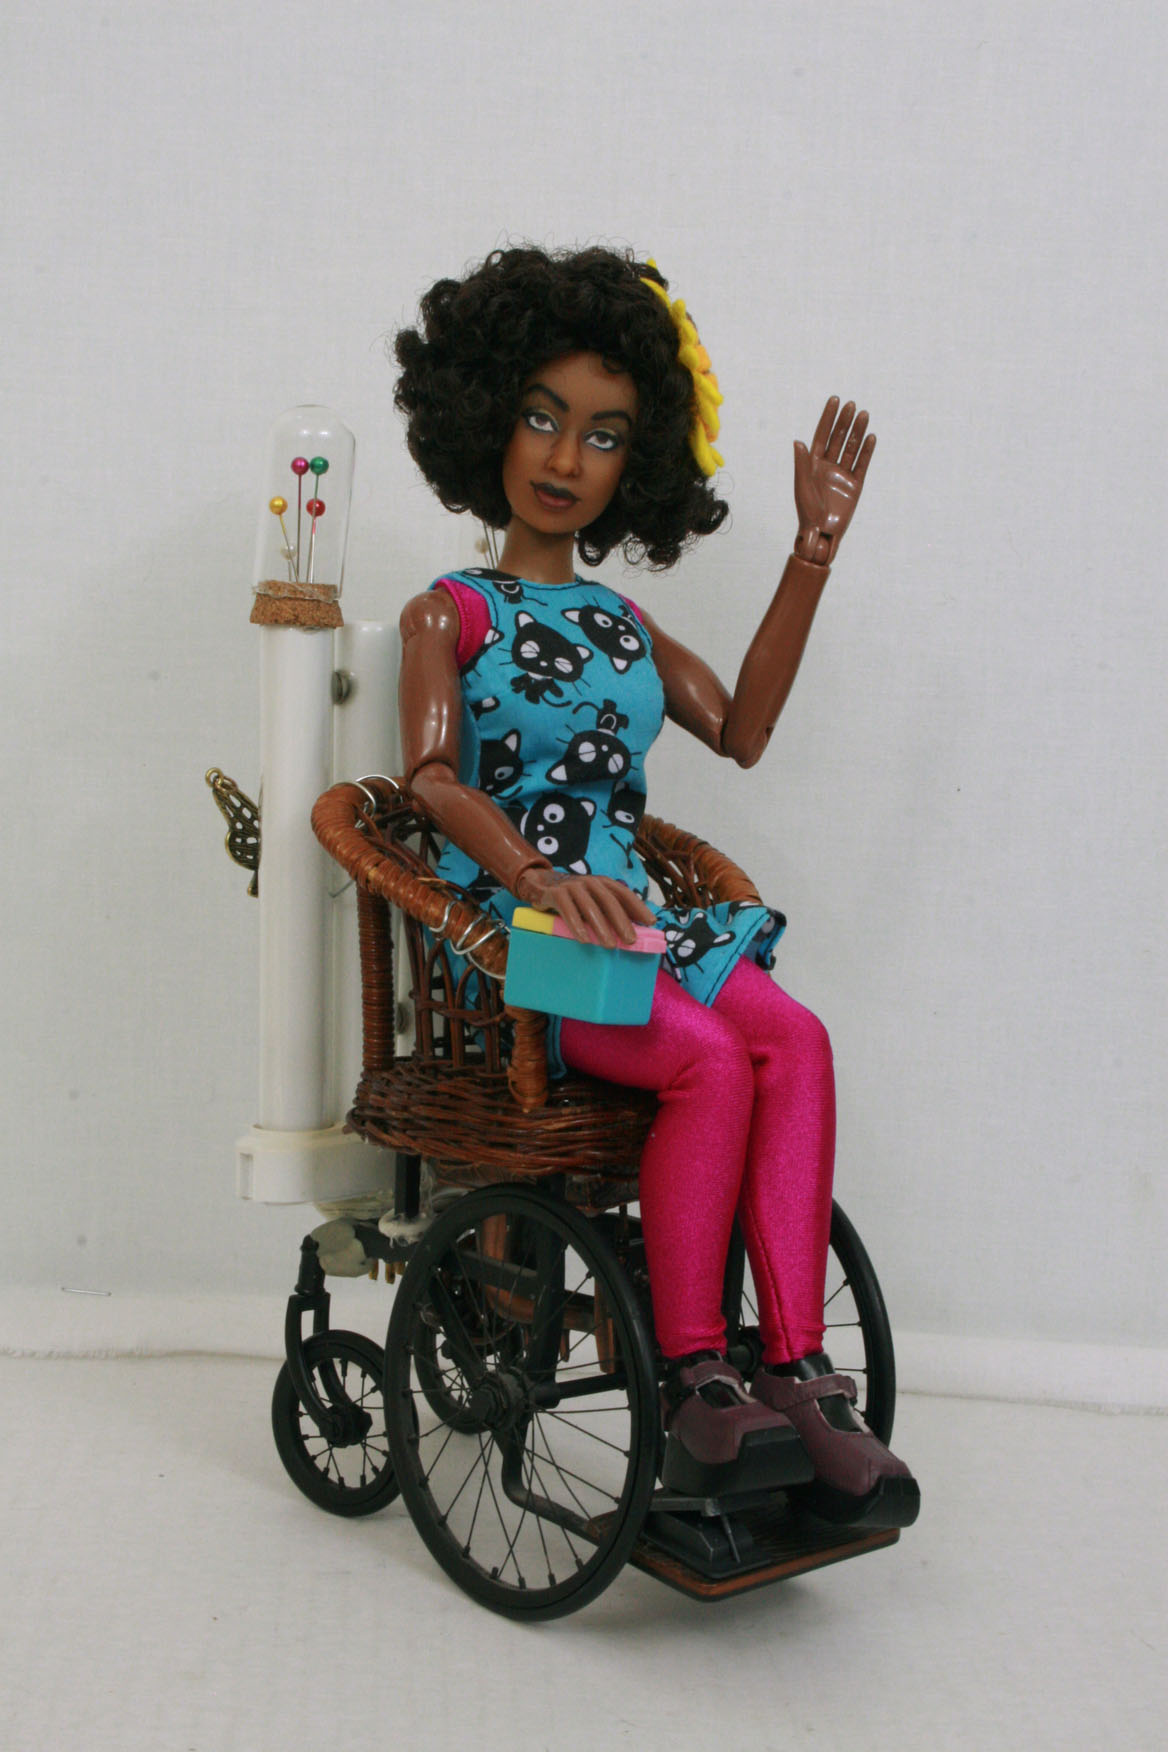
The joybox is an eraser shaped like a pencil sharpener manufactured by Iwako. I removed the hard plastic crank, which was embedded in the blue section, and drove a ball-headed sewing pin into the pink part for a joystick. I attached it to the seat with extremely high-tech steel wire.
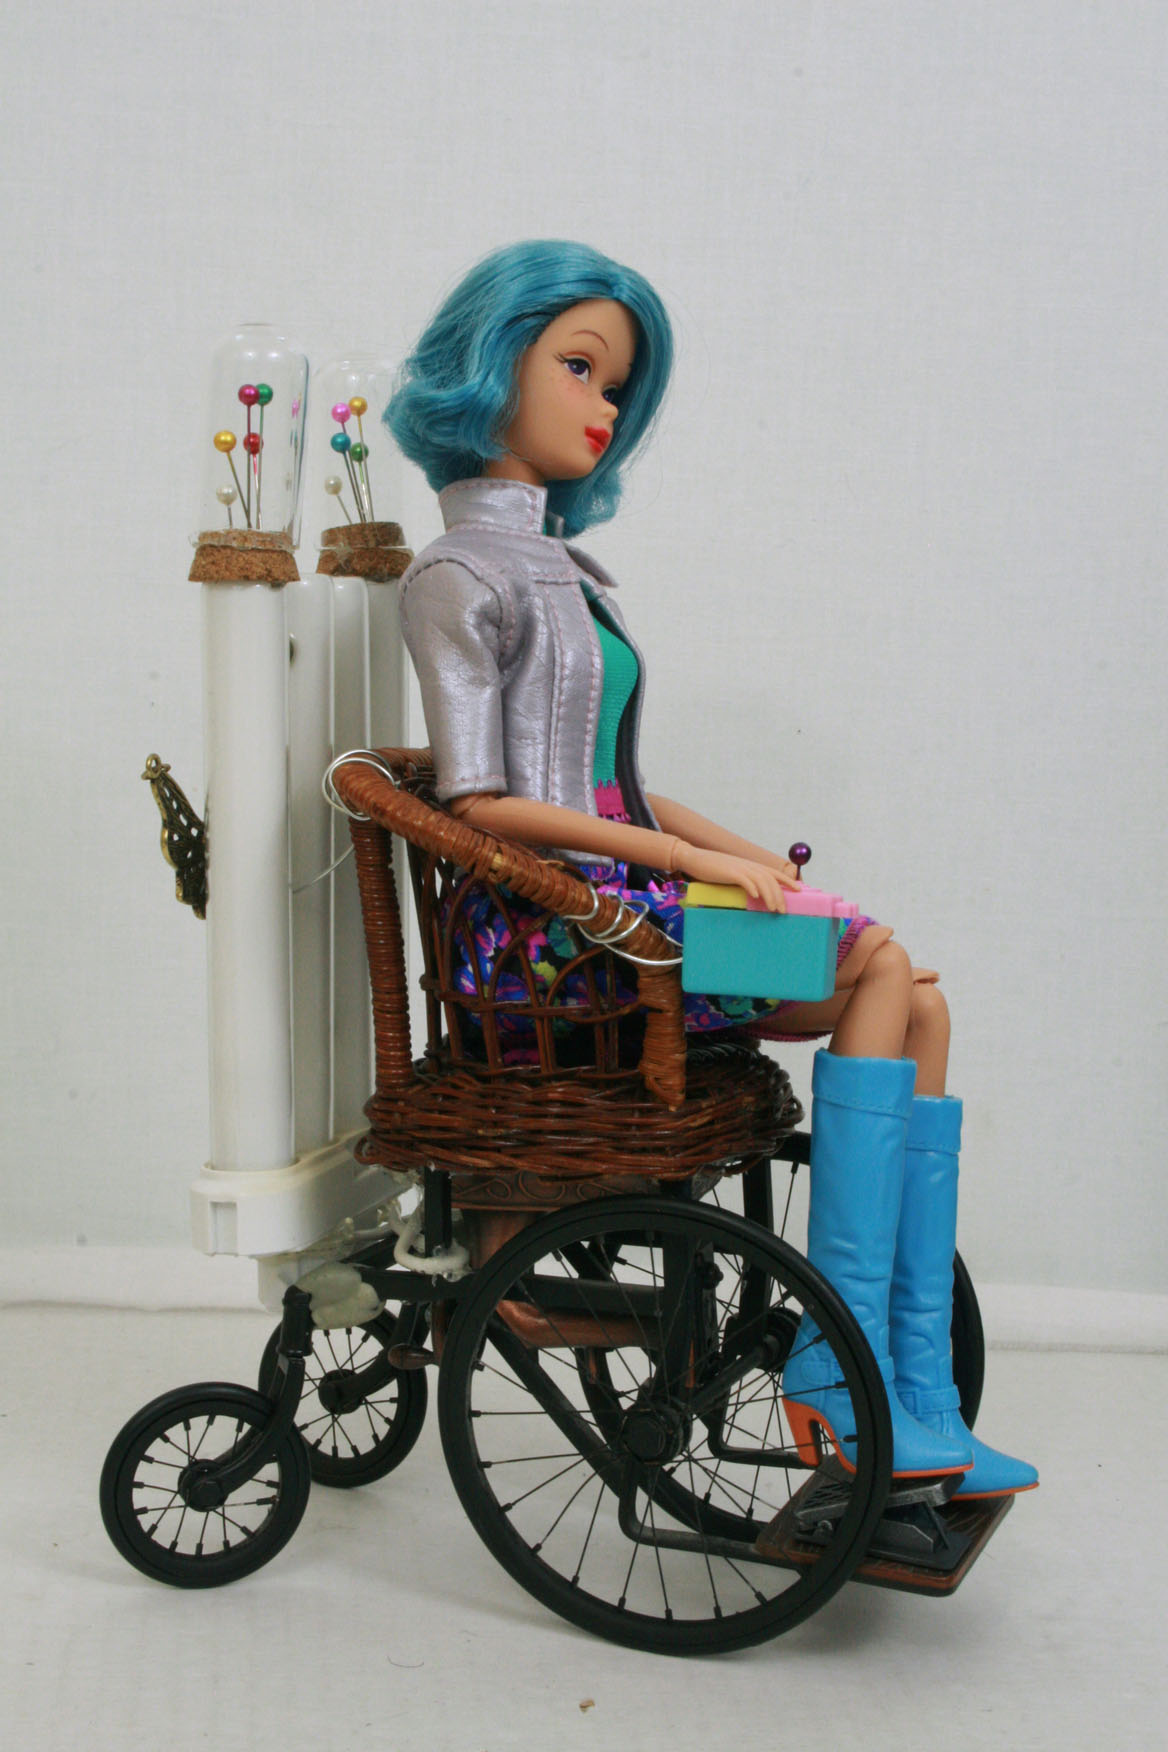
The white thing on the back is a lightbulb from a full-spectrum LED light. The glass ampules with corks come from the miscellaneous accessories aisle in Michaels. I trimmed more ball-headed pins and rammed them into each cork, hoping to suggest vacuum tubes.
The flying clock is another miscellaneous accessory from Michaels. It came as a winged circular metal frame, but without anything in it. I scanned a larger clock decoration, reprinted at appropriate size, and pasted it in. I glued a piece of metal on the lightbulb tubes, then magnetized the flying clock there with a neodymium magnet.
After adding all these parts, I thought that I had finished the chair. However, the relatively hefty lightbulb on the back of a lightweight frame topped with a lightweight chair made the whole thing top heavy. I needed something heavy and solid under the seat to balance it out, and it would be great if it looked like an engine. Fortunately I recently upgraded my 1:6 scale sewing machine from a cast iron pencil sharpener to a modern Mattel Barbie wind-up, so I glued the pencil sharpener upside-down under the seat. It even goes with the brassy color scheme.
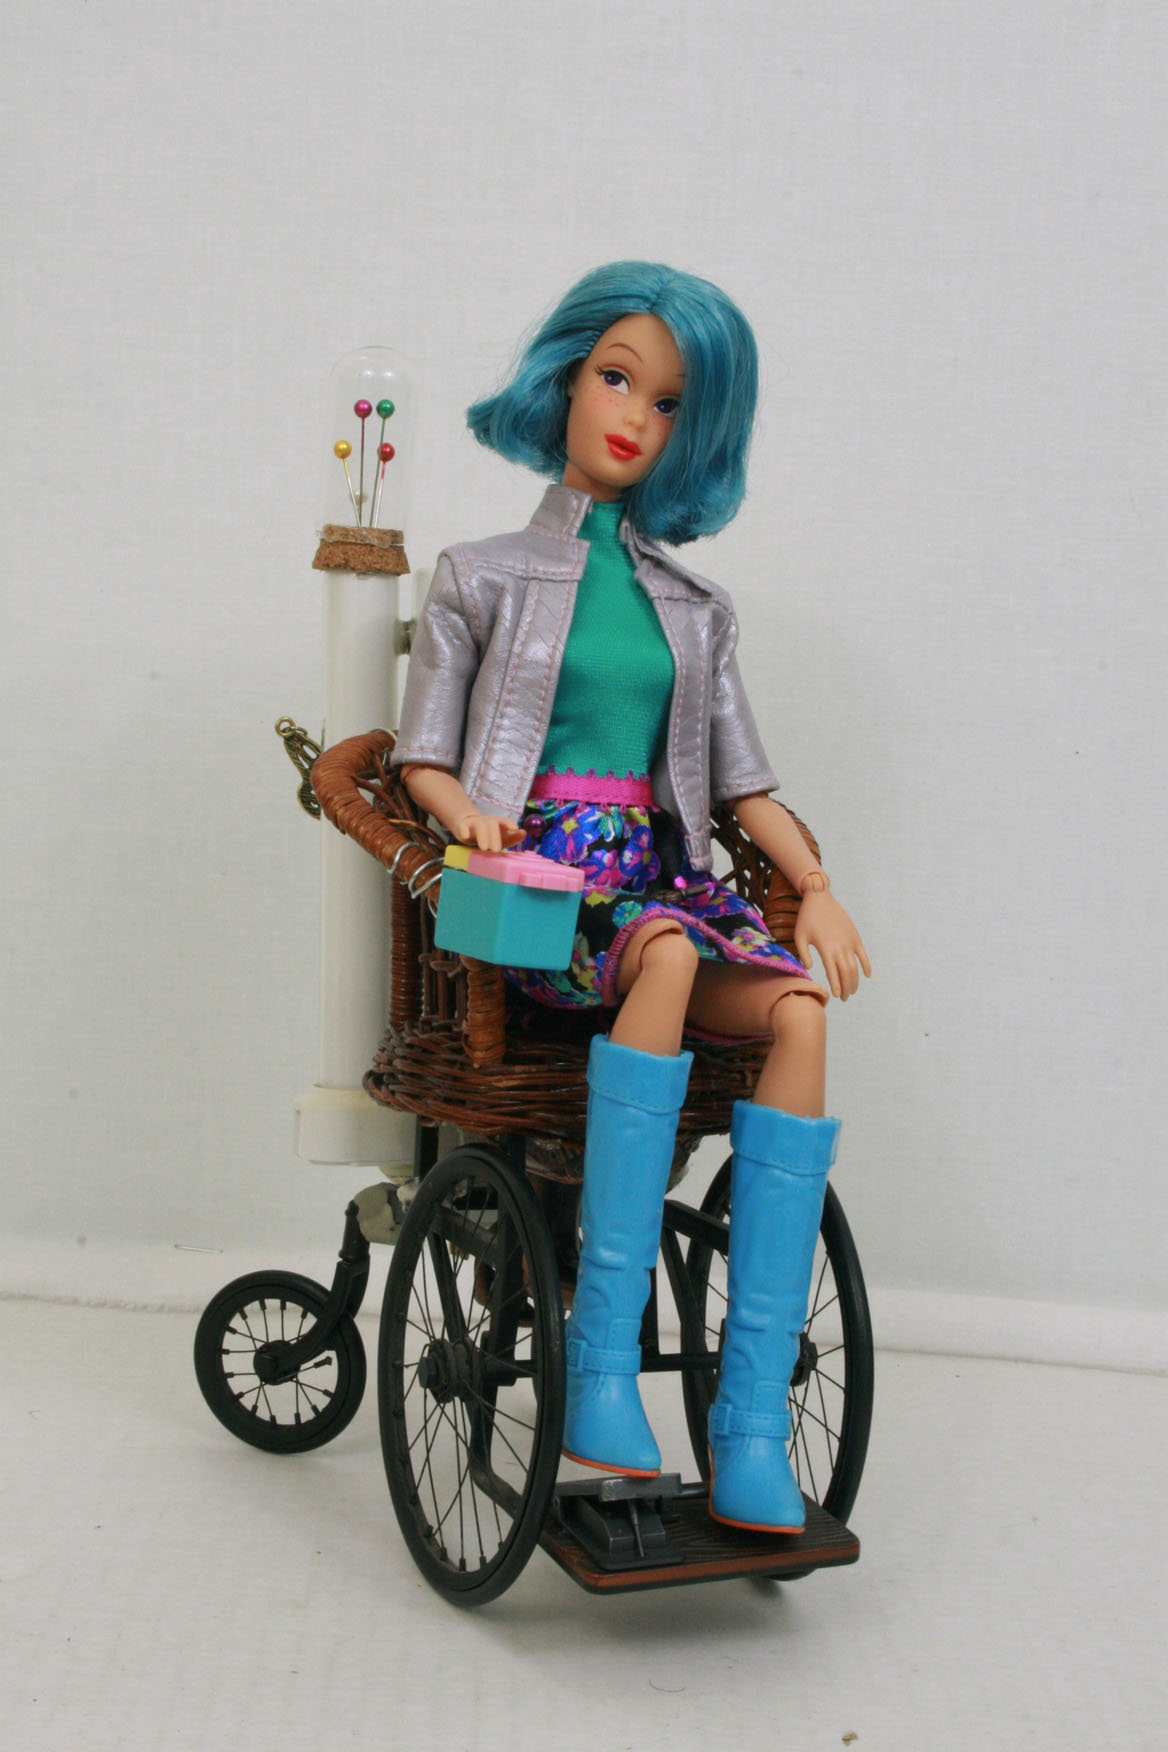
As you can see, this chair works well with Barbies [blue-haired person] and action figures [Bill in the Chococat dress]!