As long as I’ve been interested in making dolls, I’ve been interested in making likenesses. My interest in likenesses led me to digital art using Daz Studio, a program where you can customize 3D models, arrange them into scenes, and render the results. In other words, Daz Studio is like playing with digital dolls.
My work in Daz Studio relates to my pursuit of likeness dolls. With the greater popularity of 3D printing, I decided in 2012 to design my own doll head. I created a headsculpt in Daz Studio, exported it to an obj file, then sent it to Angelsdoll, a South Korean maker of resin ball-jointed dolls. The company used to have a service with which they would cast custom headsculpts in resin. They and I refined my headsculpt with their computer software. They made a 3D print of my custom sculpt and created a mold, which they then used to cast heads in resin. I eventually received two heads for a 70cm BJD. They were very expensive.
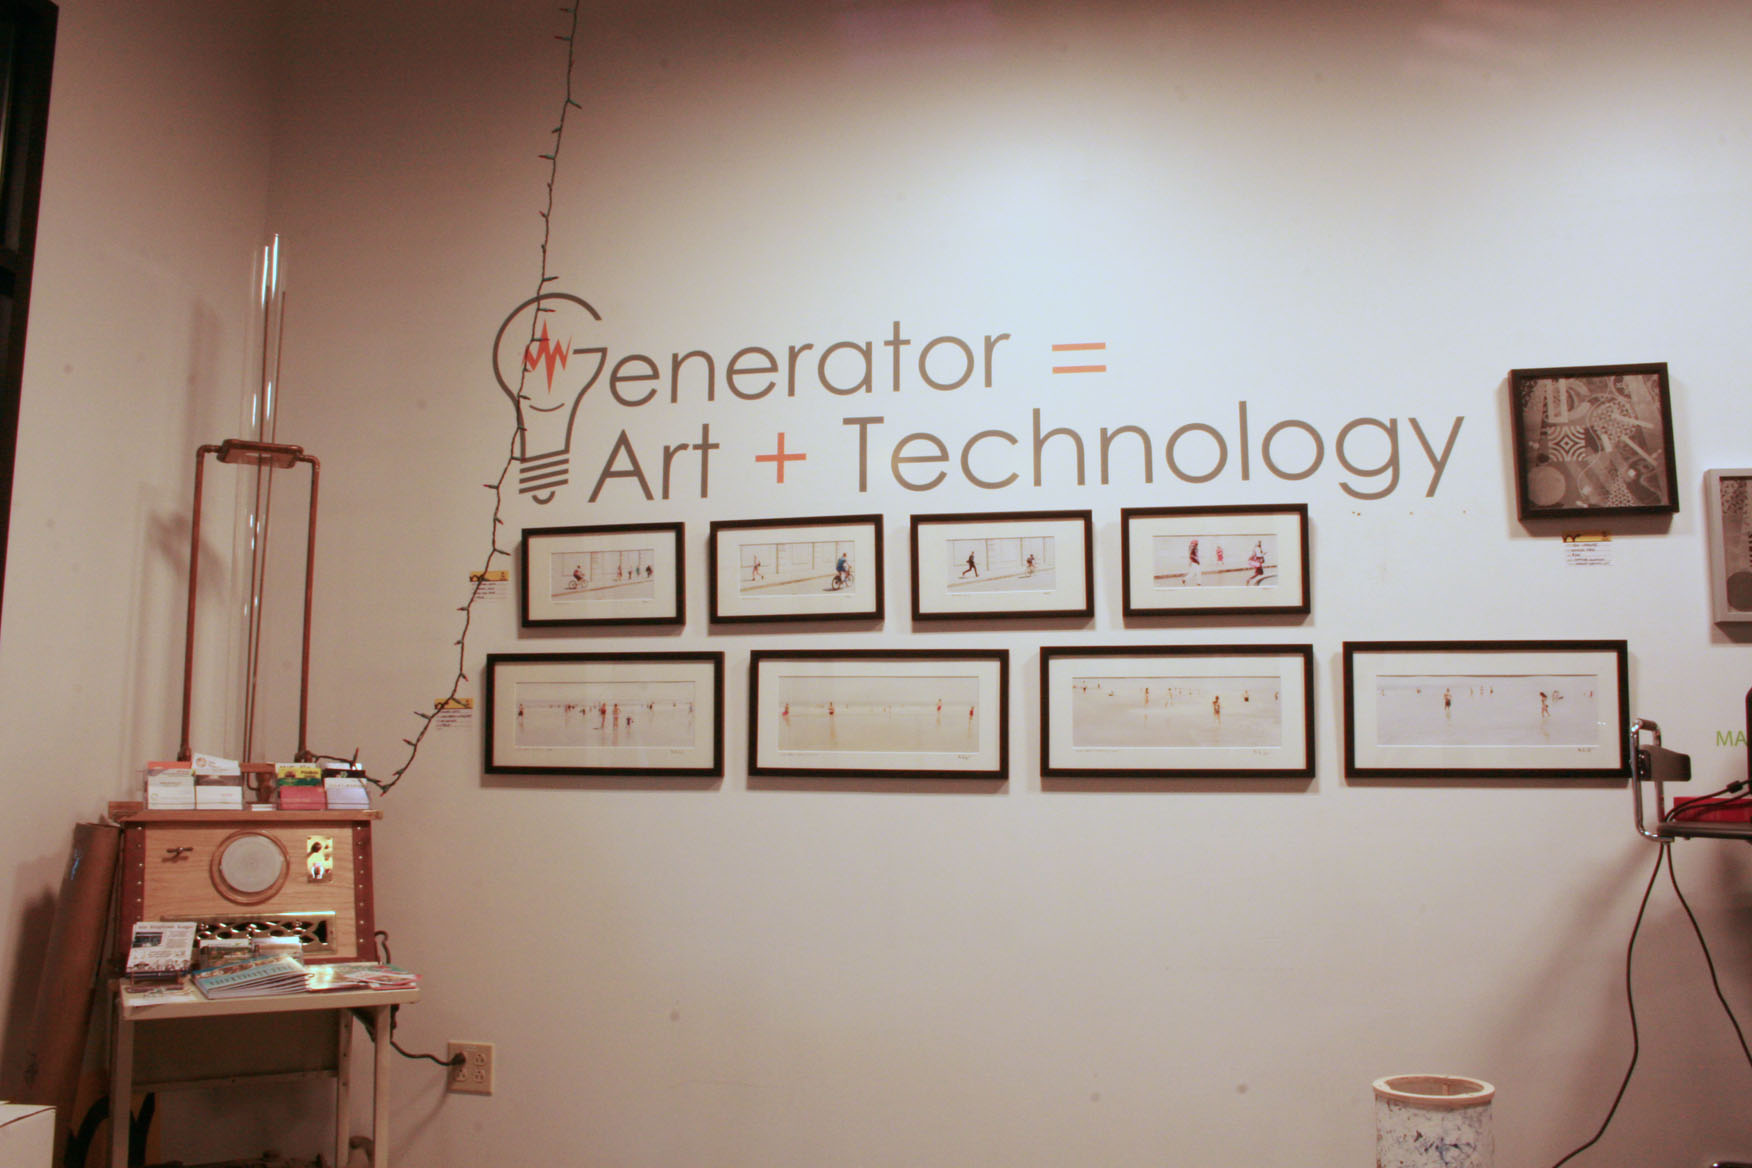
Now, in 2018, 3D printing technology has proliferated and decreased in price. In fact, the Generator, a makerspace near my house, offers 3D printers [among other machines] for members to use. I became a member in February with the goal of cutting out the Angelsdoll-like middleman and directly printing my own 1:6 scale heads for 12″ dolls/action figures/whatever you want to call ’em.
First I went onto Thingiverse, a site billed as a source for “digital designs for physical objects.” Originally limited to owners and users of MakerBot 3D printers, it’s now open to anyone who wants to upload, download, or modify designs for 3D printable objects. People use this site to share designs for 3D prints that they have created themselves or modified from existing designs. The flexible Creative Commons license with which many designs are uploaded allows people lots of freedom in altering and remixing these objects, as long as they give credit to the original creator.
Anyway, I visited Thingiverse because I wanted to survey freebie 3D printables. I hoped to find other people who had done projects similar to mine. Ideally I wanted to find a blank head that I could use as the base for my headsculpts. At the very least I wanted to see if other people had printed 1:6 scale human heads that had come out looking decent.
I discovered promising models such lehthanis’ 1:1 scale head for a headphones rest and, more pertinently, jasonwelch’s open-source female action figure with 38 points of articulation. While not 1:6 scale, the latter model proved to me that printing 1:6 scale heads could be done. I just needed to figure out my own process…
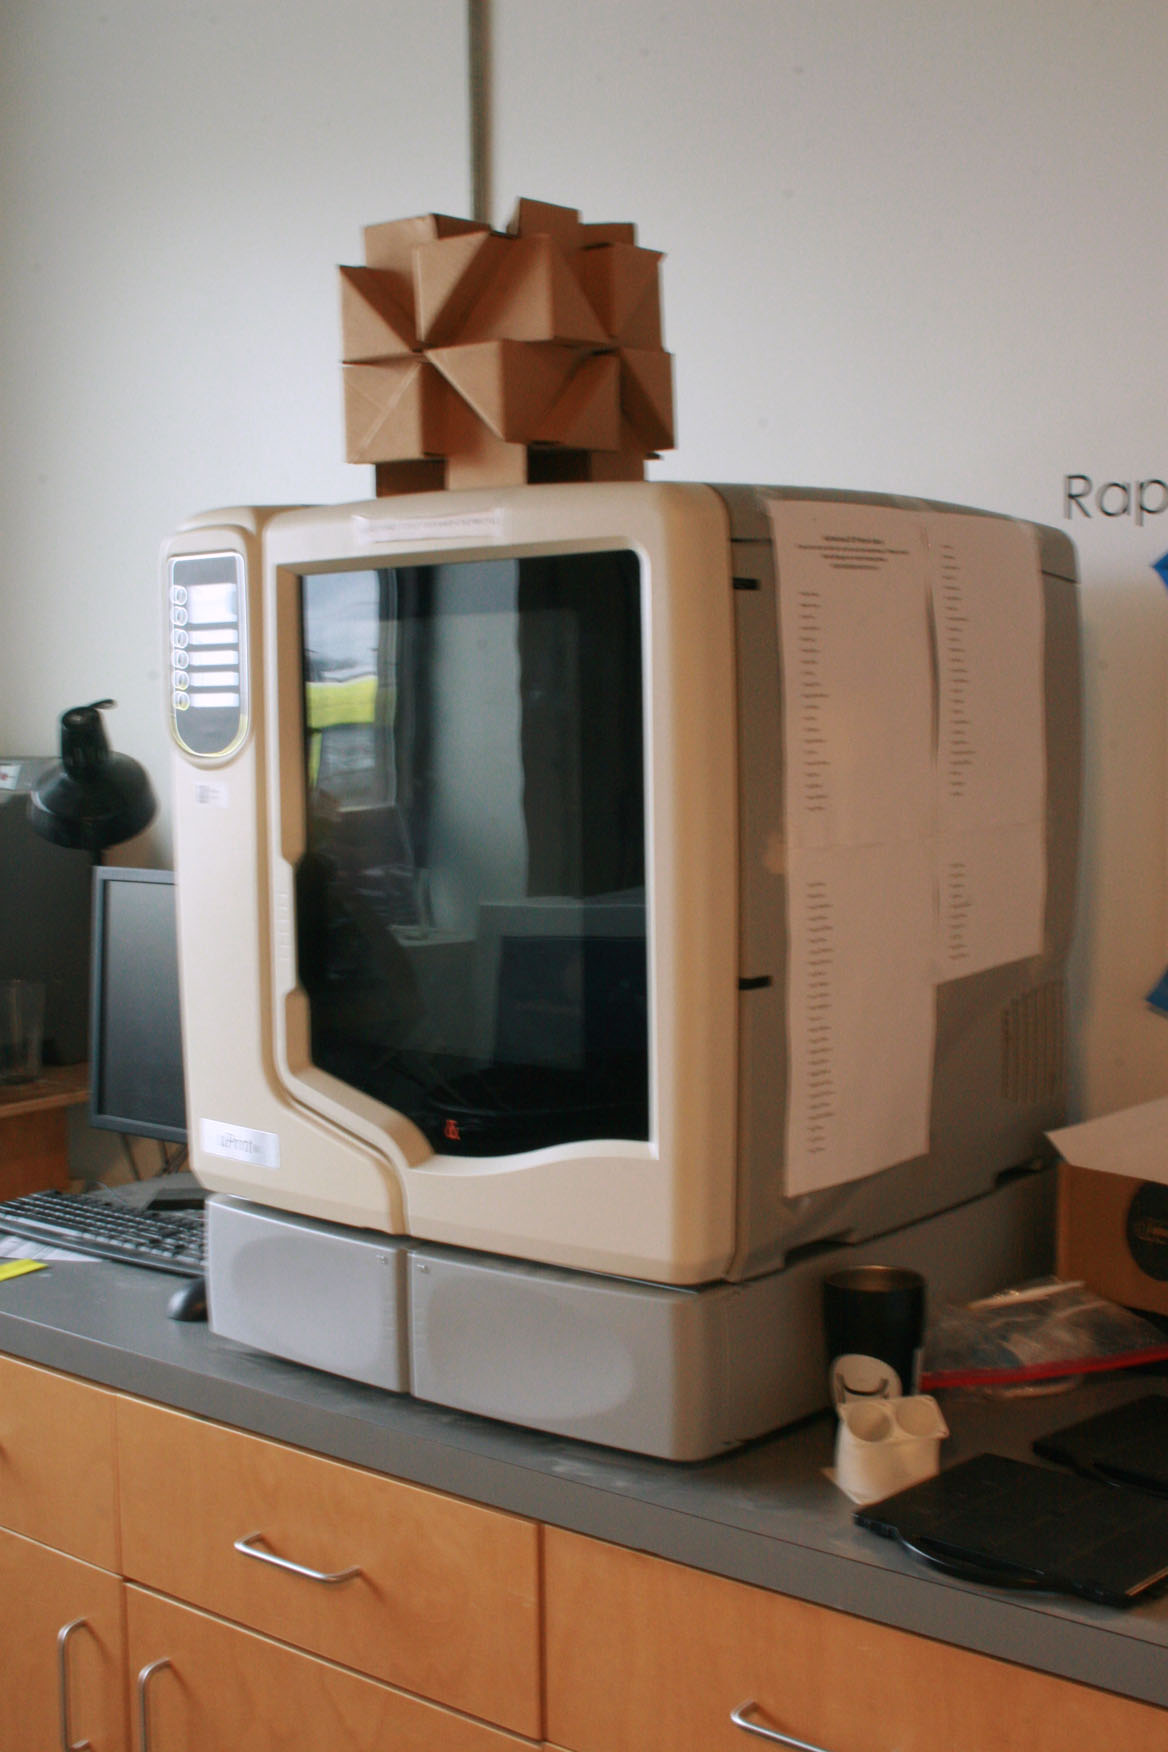
I went to the Generator and took an orientation. As part of this overview of the Generator and the 3D printers, I tested a Stratasys uPrint SE to see if it print at a decent resolution for my purposes. I downloaded Mr_Megatronic’s refined Sappho head. Using some software that I forget the name of but which is not relevant because I am not concentrating on this type of printer, I reduced her in size till her head was about 1:6 scale. Using this software, I also added support material to the print. Then I printed her out.
The uPrint prints inside an enclosed chamber, which is why it looks like a small refrigerator.
 Prints are built up on these print beds. You have to buy your own print beds.
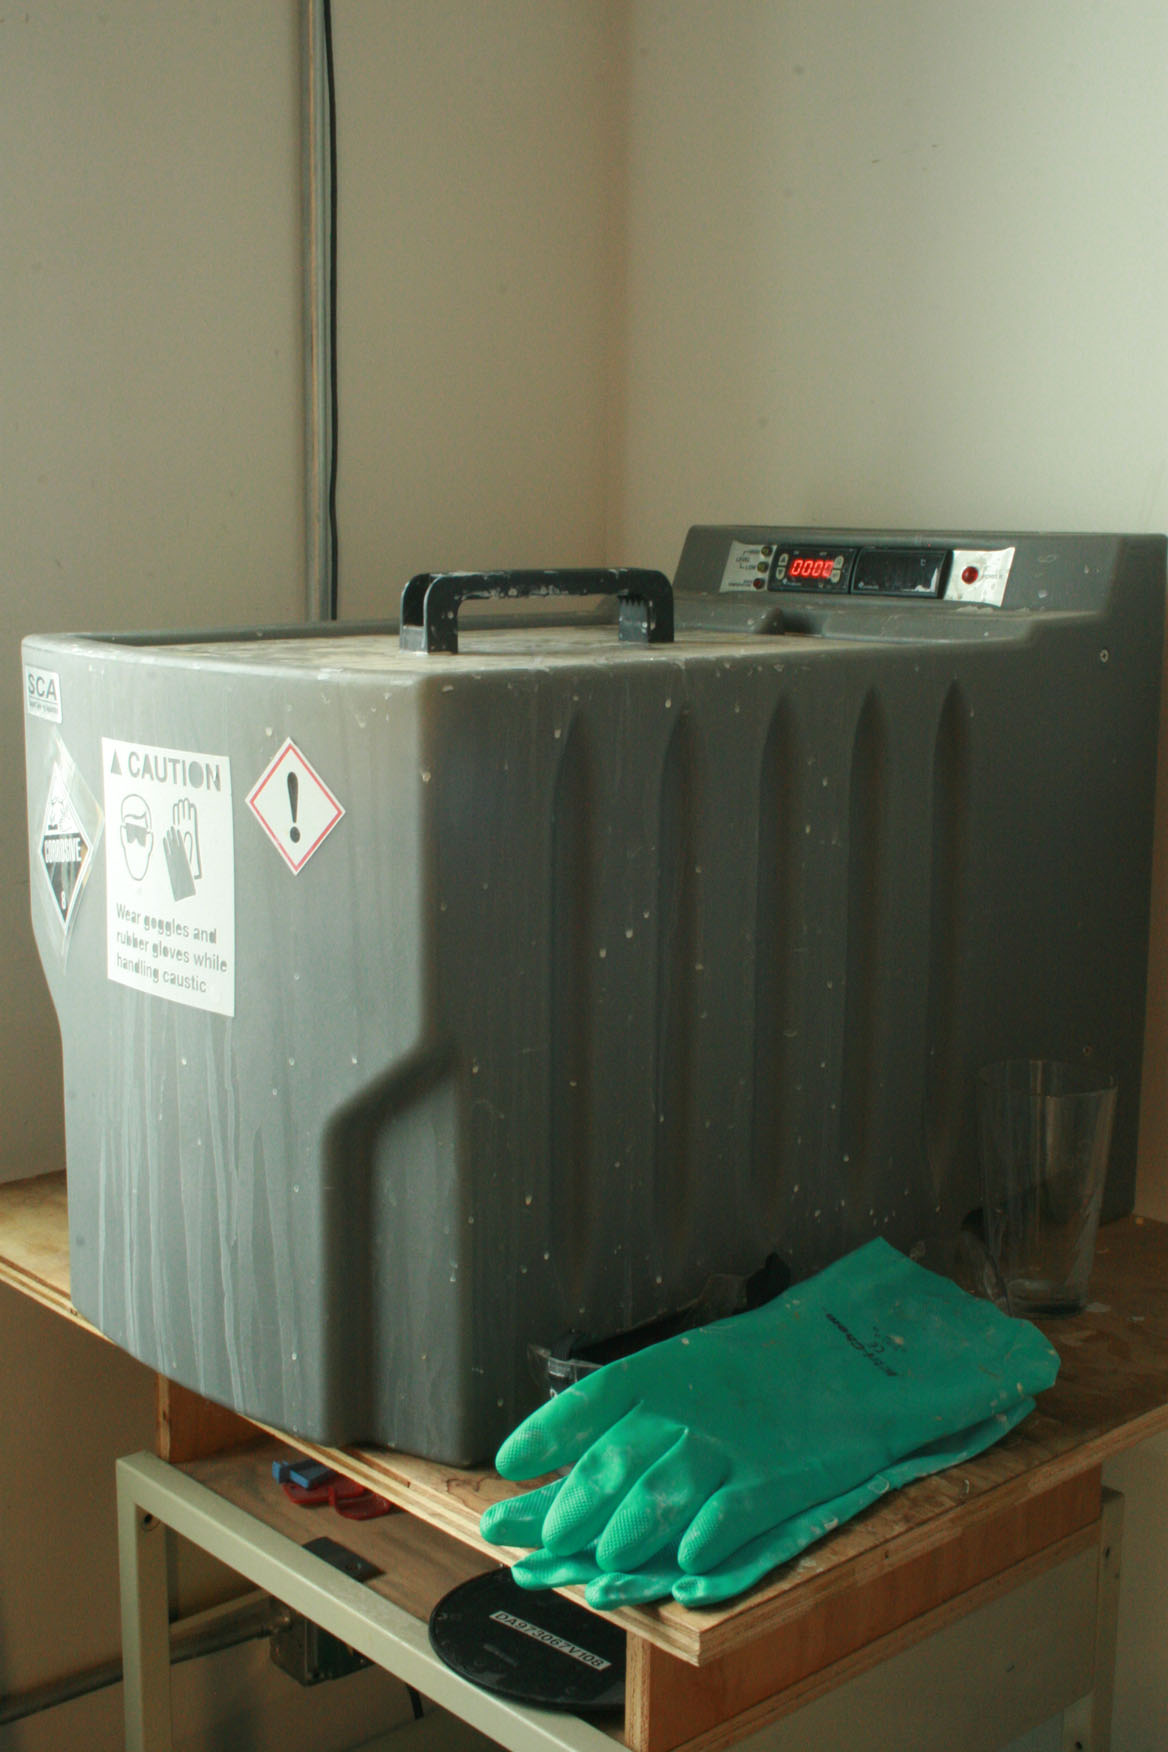
 After the prints are completed, they go into an acid bath, which dissolves away the support material, leaving the 3D print. This is the chamber containing the acid bath, which agitates to ensure that the acid penetrates all crannies. The 3D print material for the uPrint is expensive, so you have to pay per cubic centimeter of material that you use.
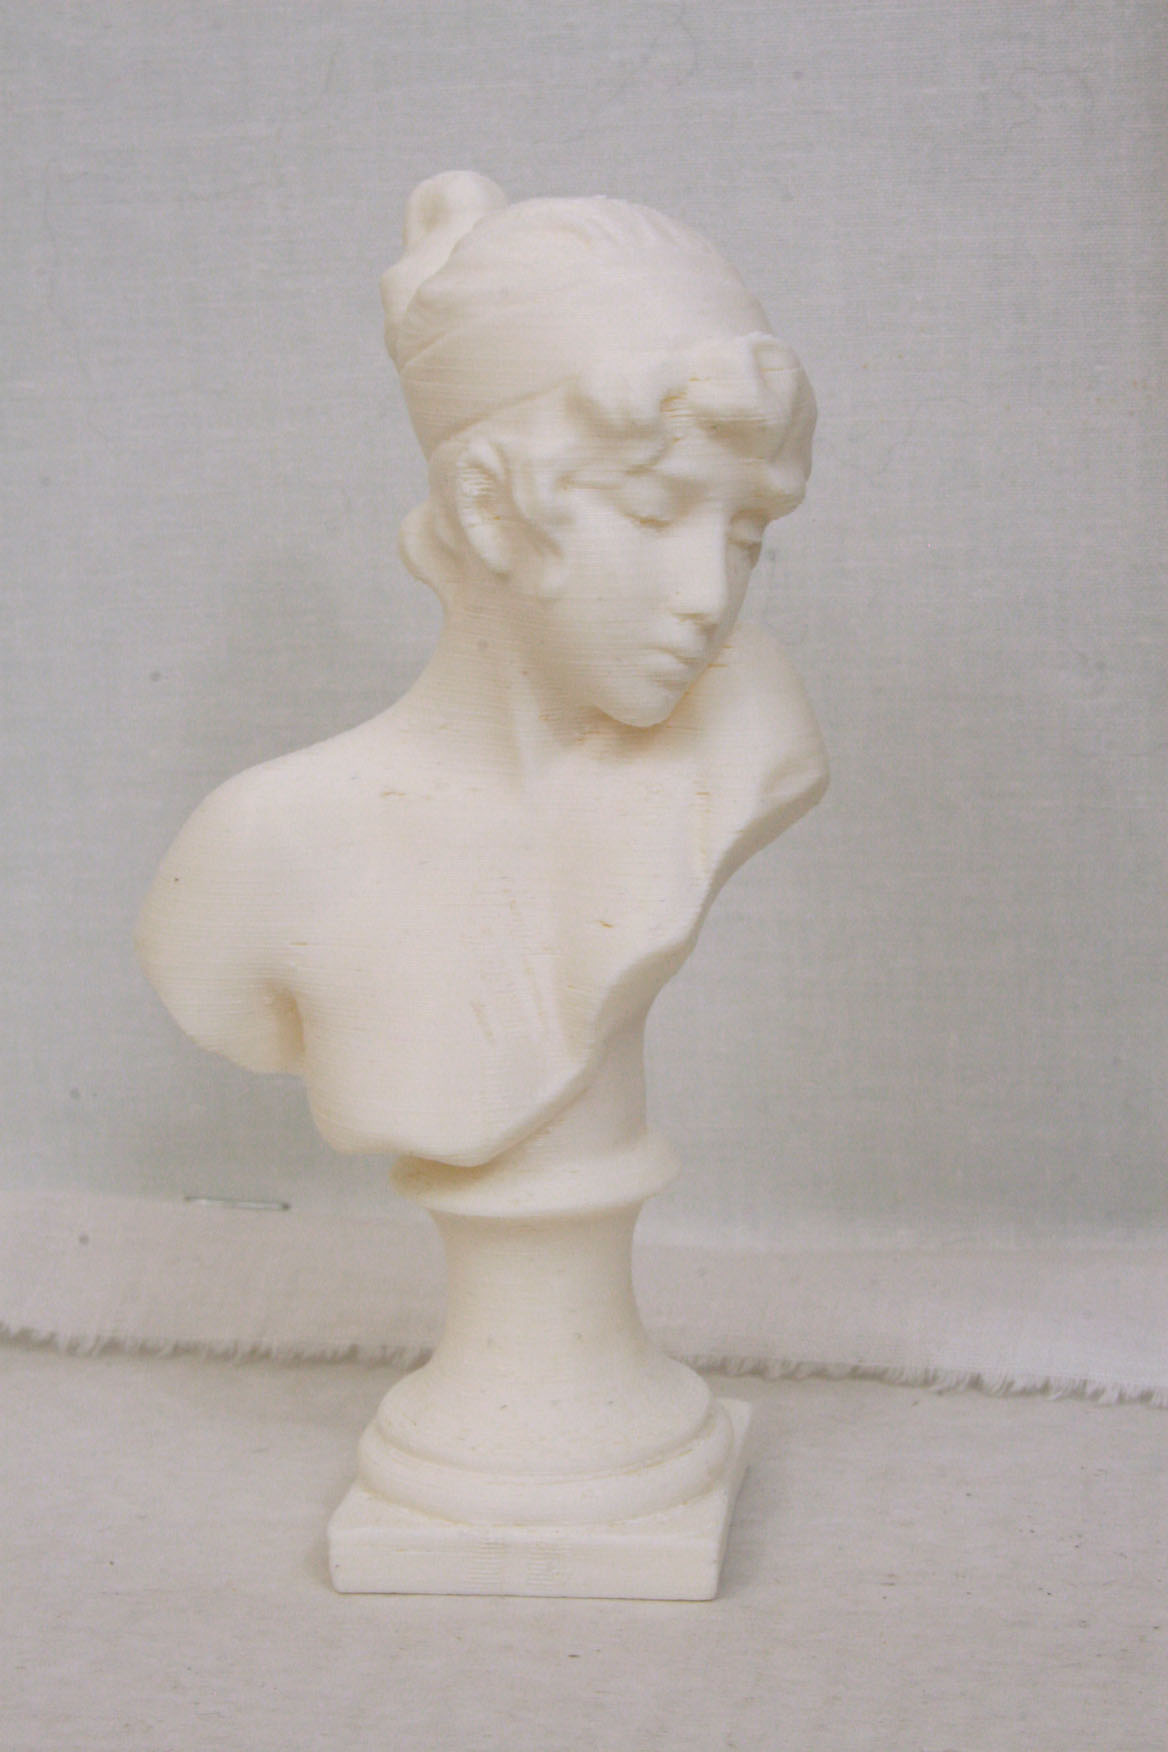
Sappho came out looking rough but promising. The thick layers produced noticeable steps between each, which I did not like. The sprues from support material also gave her an uneven appearance. Finally, some foreign material got caught in the print. You can see some [yellowish stuff] in the rear view, on the righthand side of the bust amputation. However, I had my proof of concept: a 3D printed 1:6 scale head.

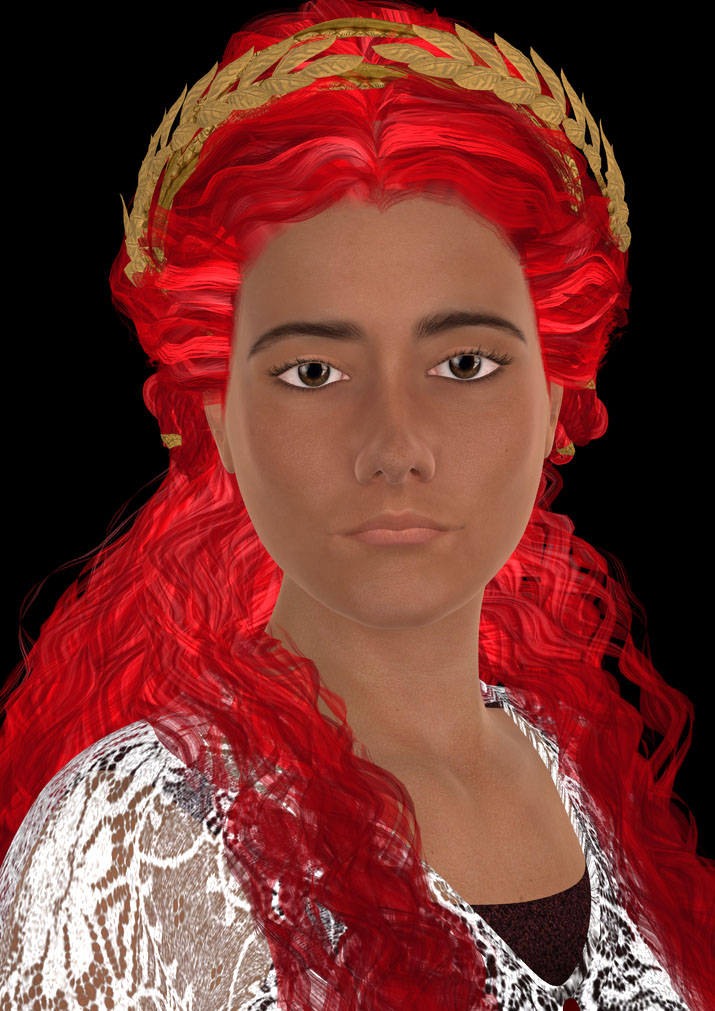
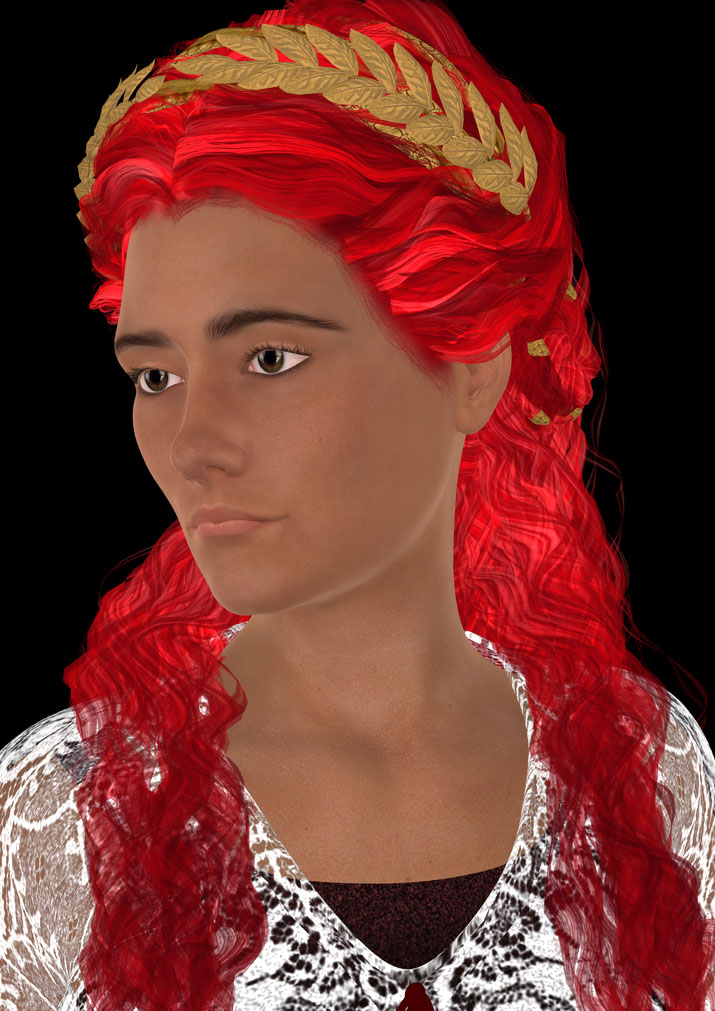
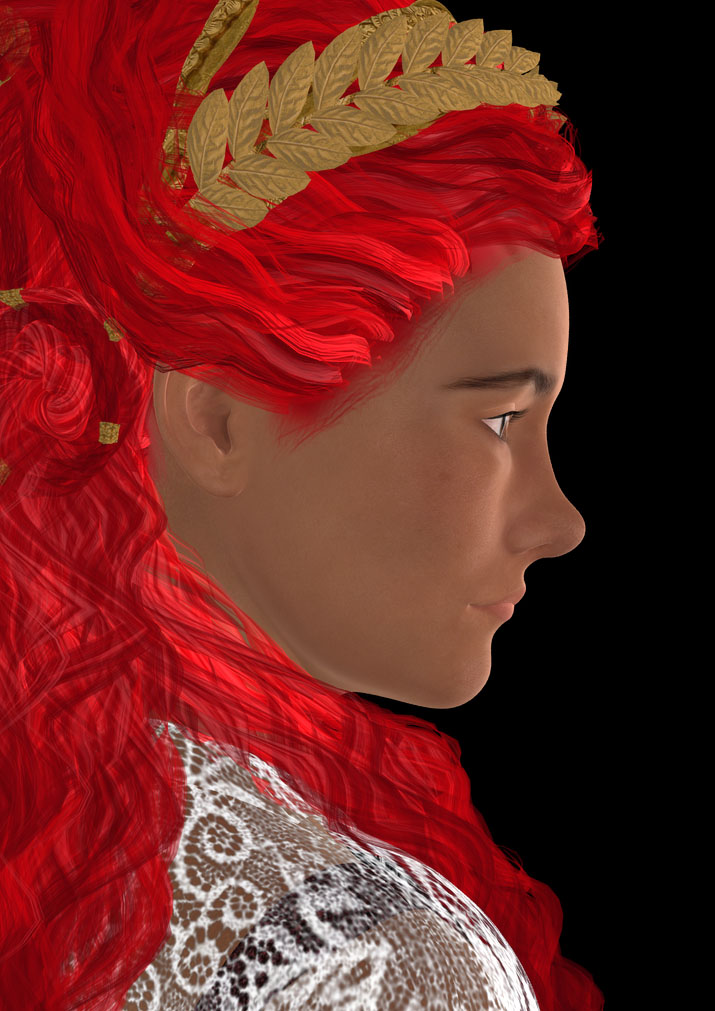
Next I tested out one of my own sculpts. Using Daz Studio, I modified the Daz Genesis 3 Female base mesh to create a character that I wanted a doll of. This is Galleia, my [loose] interpretation of Ingrid Pitt’s character in the early Doctor Who serial The Time Monster. She’s also a character in my DW fanfic universe, so clearly she needed to join the rest of my 1:6 scale DW characters in doll form. Anyway, these renders show how I imagine her, with detailed skin and hair and clothes.
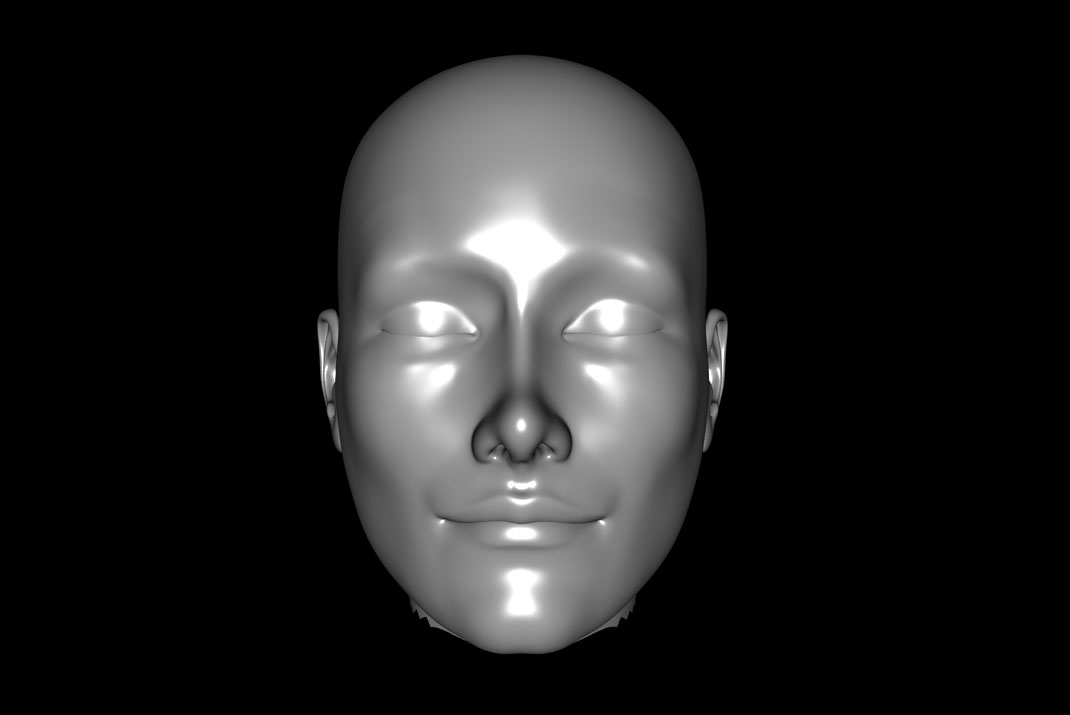
To prepare Galleia for 3D printing, I made a copy of her without all these decorative features. I also closed her eyes to simplify the geometry there for printing. I boosted the resolution of the model because I wanted to capture all the detail of her features. I also turned up the corners of her mouth so that she would have a more neutral/smiling expression. Then I cut off her body and exported her as an OBJ, looking like this:

Then I imported her into the free Meshmixer. I oriented her on the print bed so that she was resting on the back of her head. This orientation ensured that the back of her head and ears, areas that I would not pay much attention to, would receive support material and possible scuffs or bubbles. At the same time, her facial features, the focal point of the sculpture, would be unencumbered by support material. This would allow them to [hopefully] print more cleanly and in greater detail.
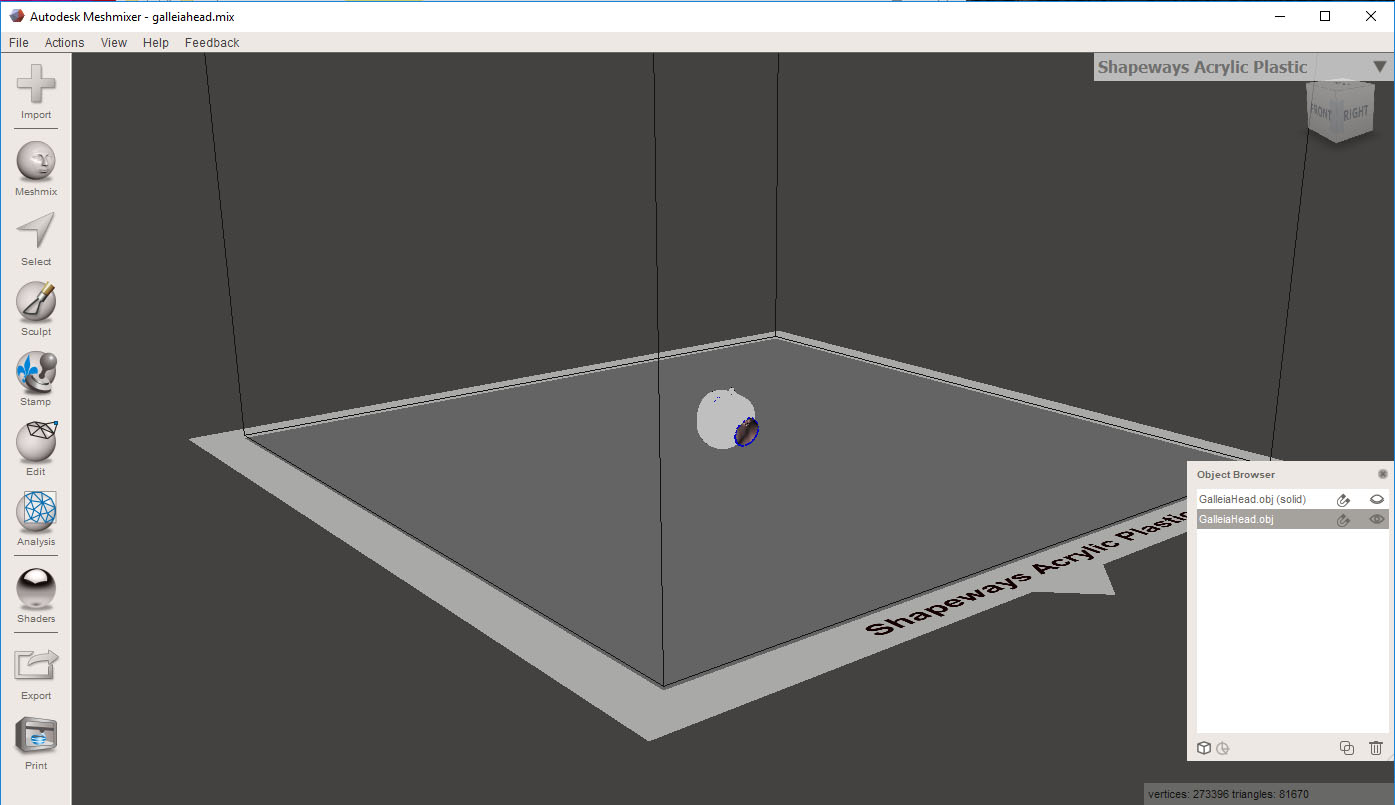
I also used Meshmixer to make the headsculpt into a solid. You see — when I exported Galleia as an obj file, she was a hollow mesh, like a rigid balloon sculpted into the shape of a head. 3D printers don’t deal well at all with fragile shells. Therefore I needed to fill the head and seal off the neck hole so that Galleia would have enough internal structure to be successfully printed. The screencap shows that I used the “Preserve hard edges” option, as well as the options for highest possible detail, to ensure that I retained all of her facial sculpting. After that, I saved her out as an stl file in ascii format.
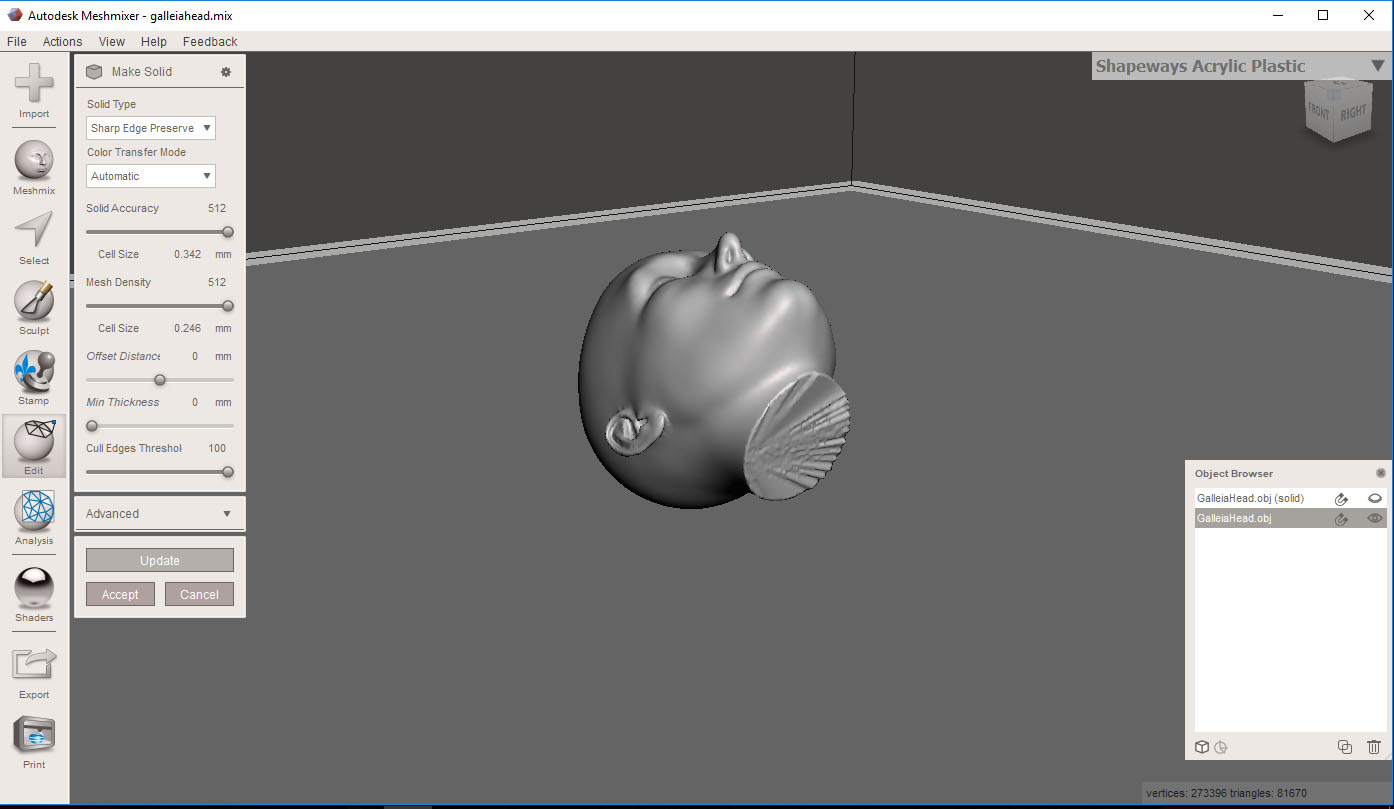
Over at the Generator, I decided to use the Prusa i3 MK3 printer, which has several advantages over the uPrint. 1) It does not use build plates, but prints directly on the print bed, so no need to purchase a build plate. 2) It prints with less expensive material, therefore does not require a separate cost per cubic centimeter. 3) Support material just snaps off, so no need for an acid bath. In other words, you can finish your 3D prints and play with them faster!!! 4) The Prusa’s open print bed means that you can stare very closely at your print being printed without glass in the way [as with the uPrint’s closed chamber].
One cool feature of the Prusa is that you can 3D print some of the components necessary for assembly. In the photos above and below, all bright orange components were 3D printed and then incorporated into the structure of the printer.
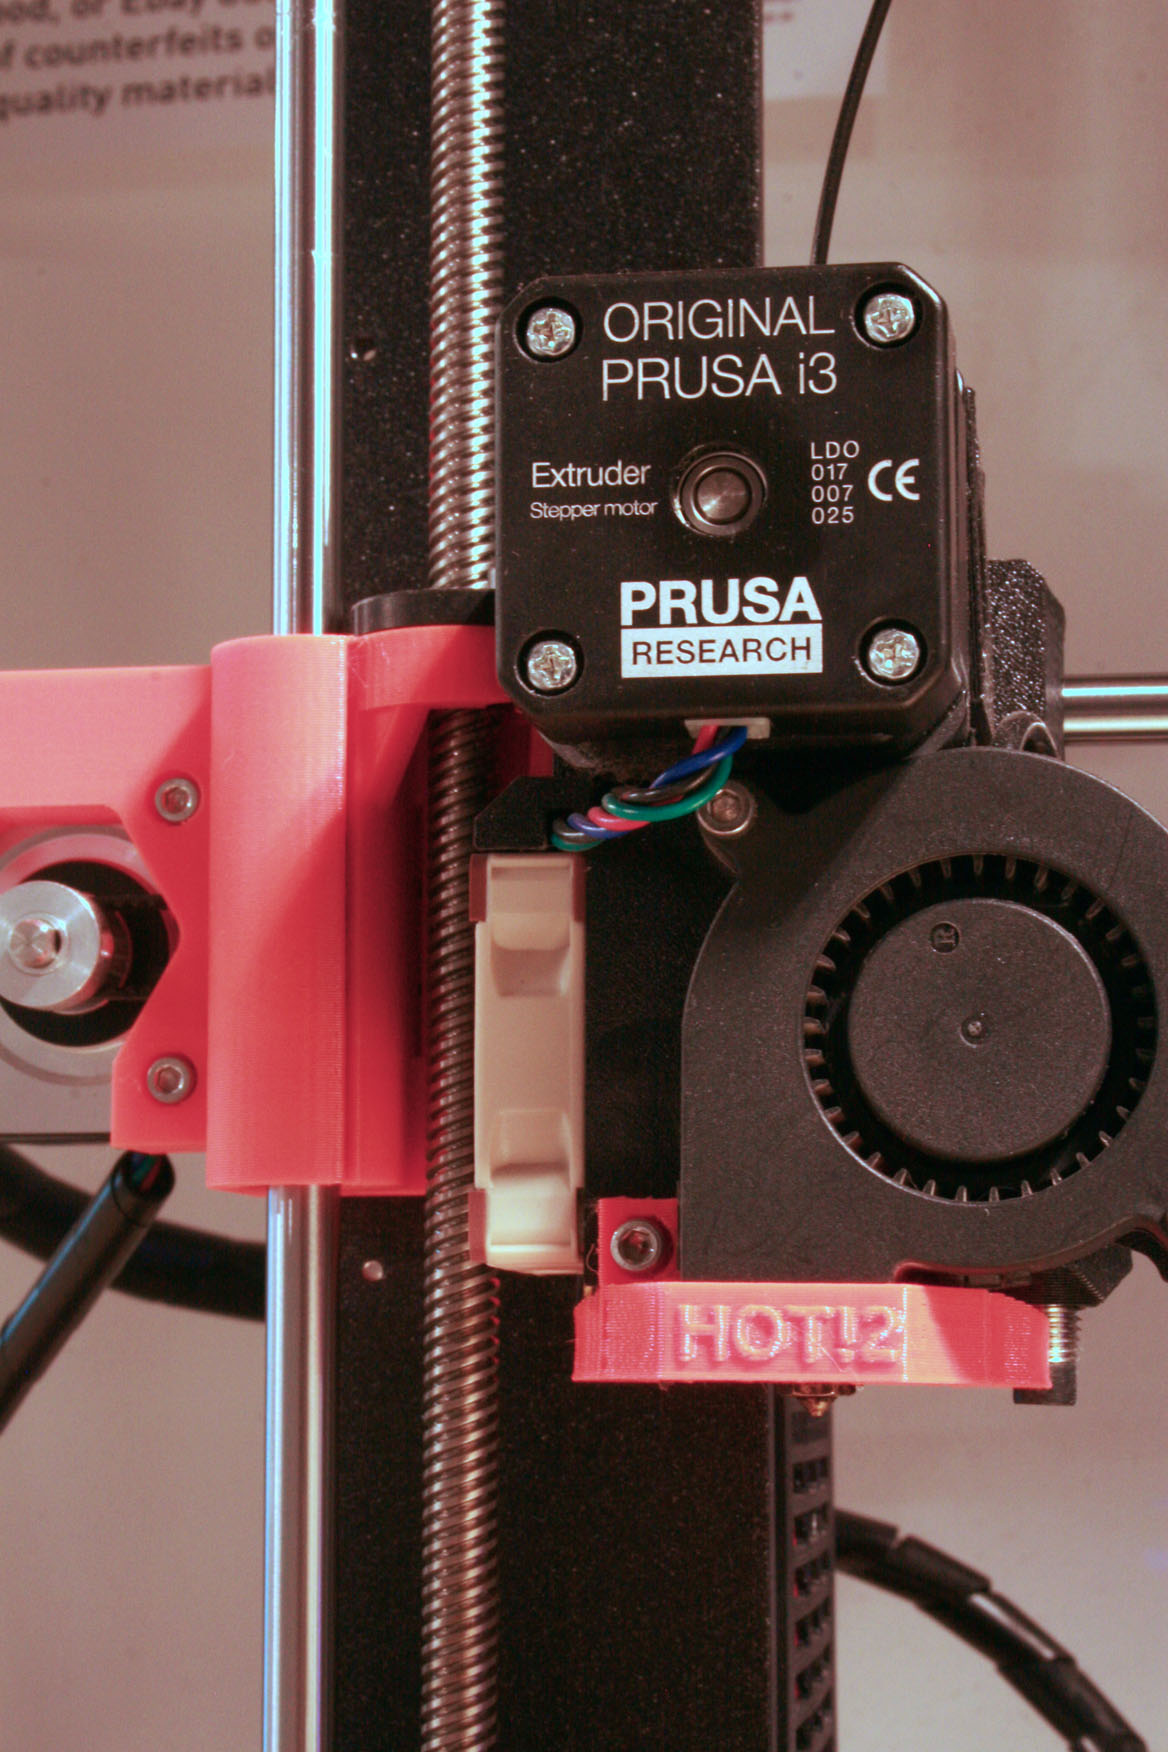
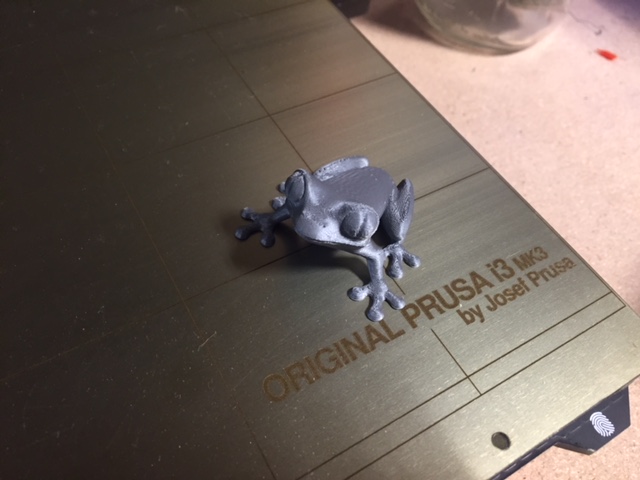
Frankly, however, I did not care about any of this. What convinced me to use the Prusa was this frog, which someone had printed as a test while setting up and calibrating the printer. The default fine resolution and the overall cleaner print [no foreign material stuck in it] persuaded me to try the Prusa for my head printing.Photo by Annika Rundberg, Generator staff.
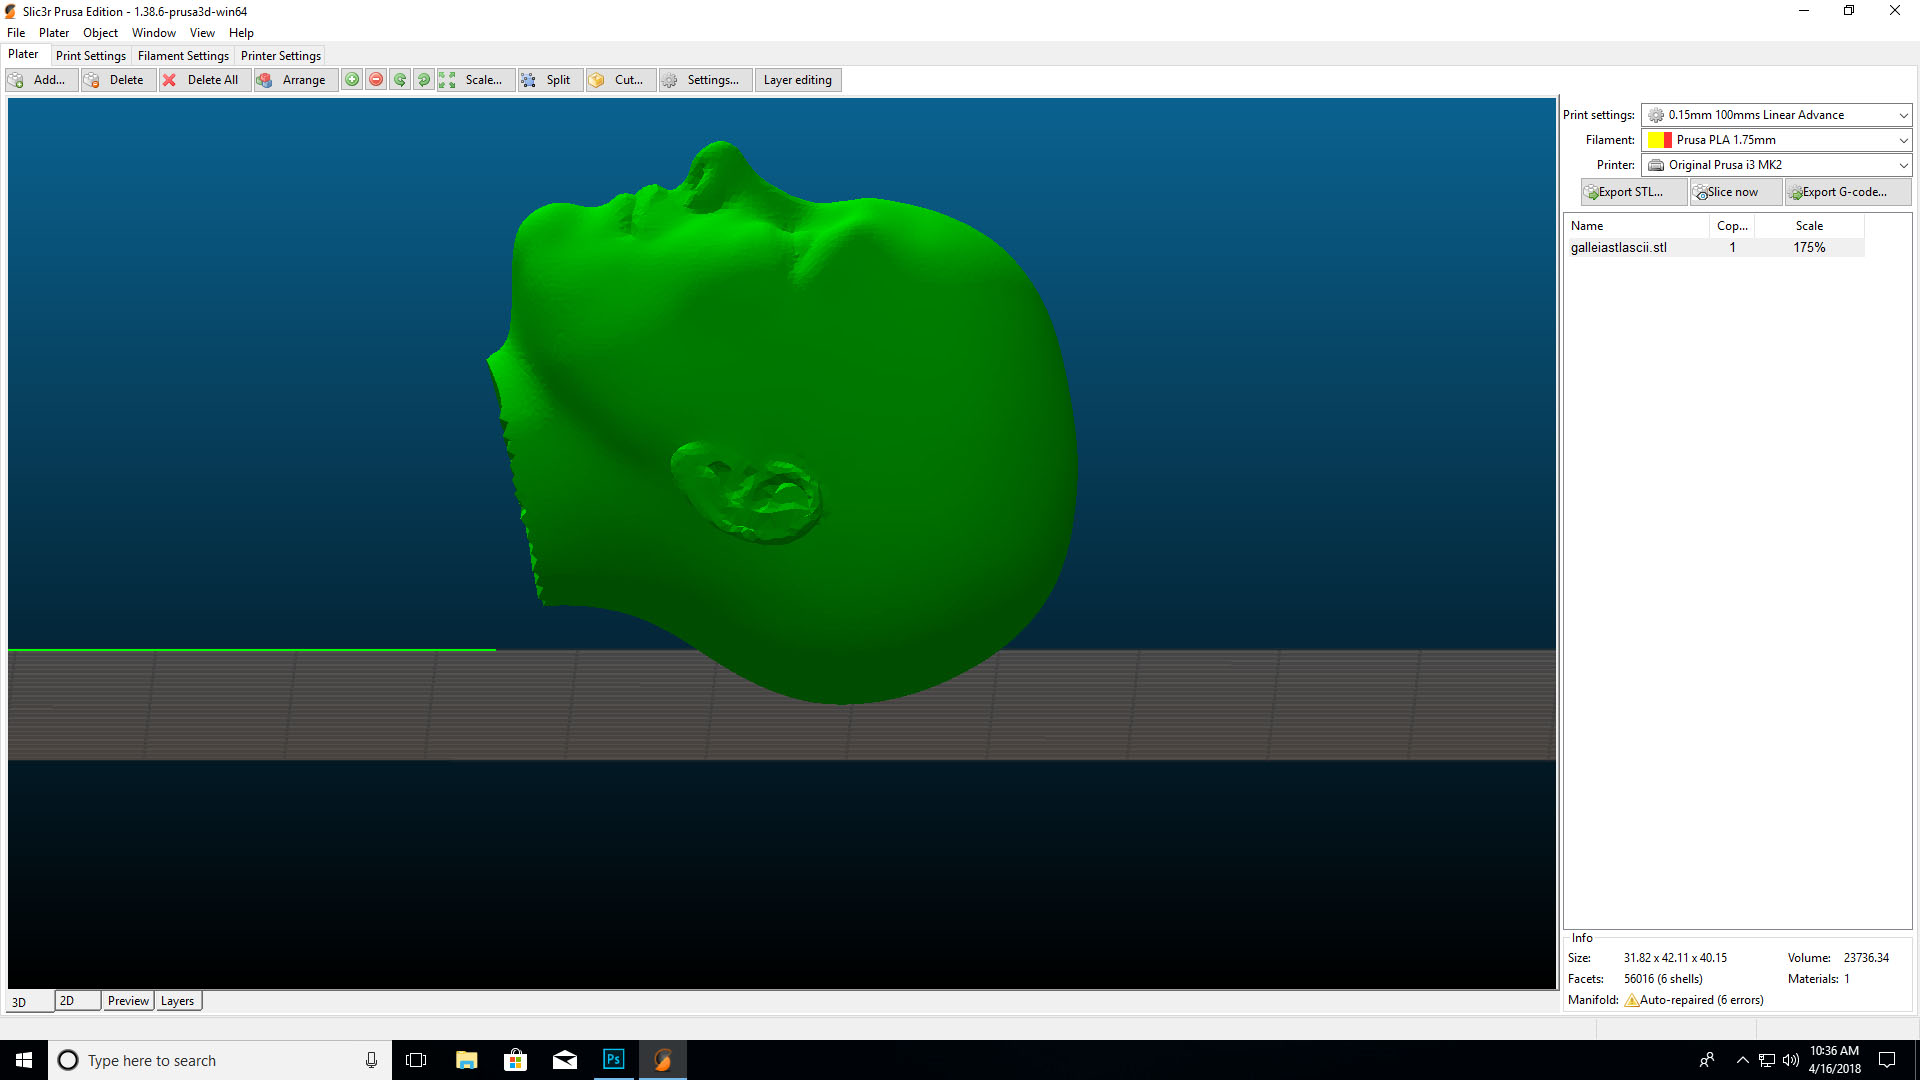
Anyway, back to Galleia… I brought her stl file over to the Generator computers and fired up Slic3r, a program specifically for the preparation of 3D objects to be printed by the Prusa. Here’s what the stl looked like when imported into Slic3r.
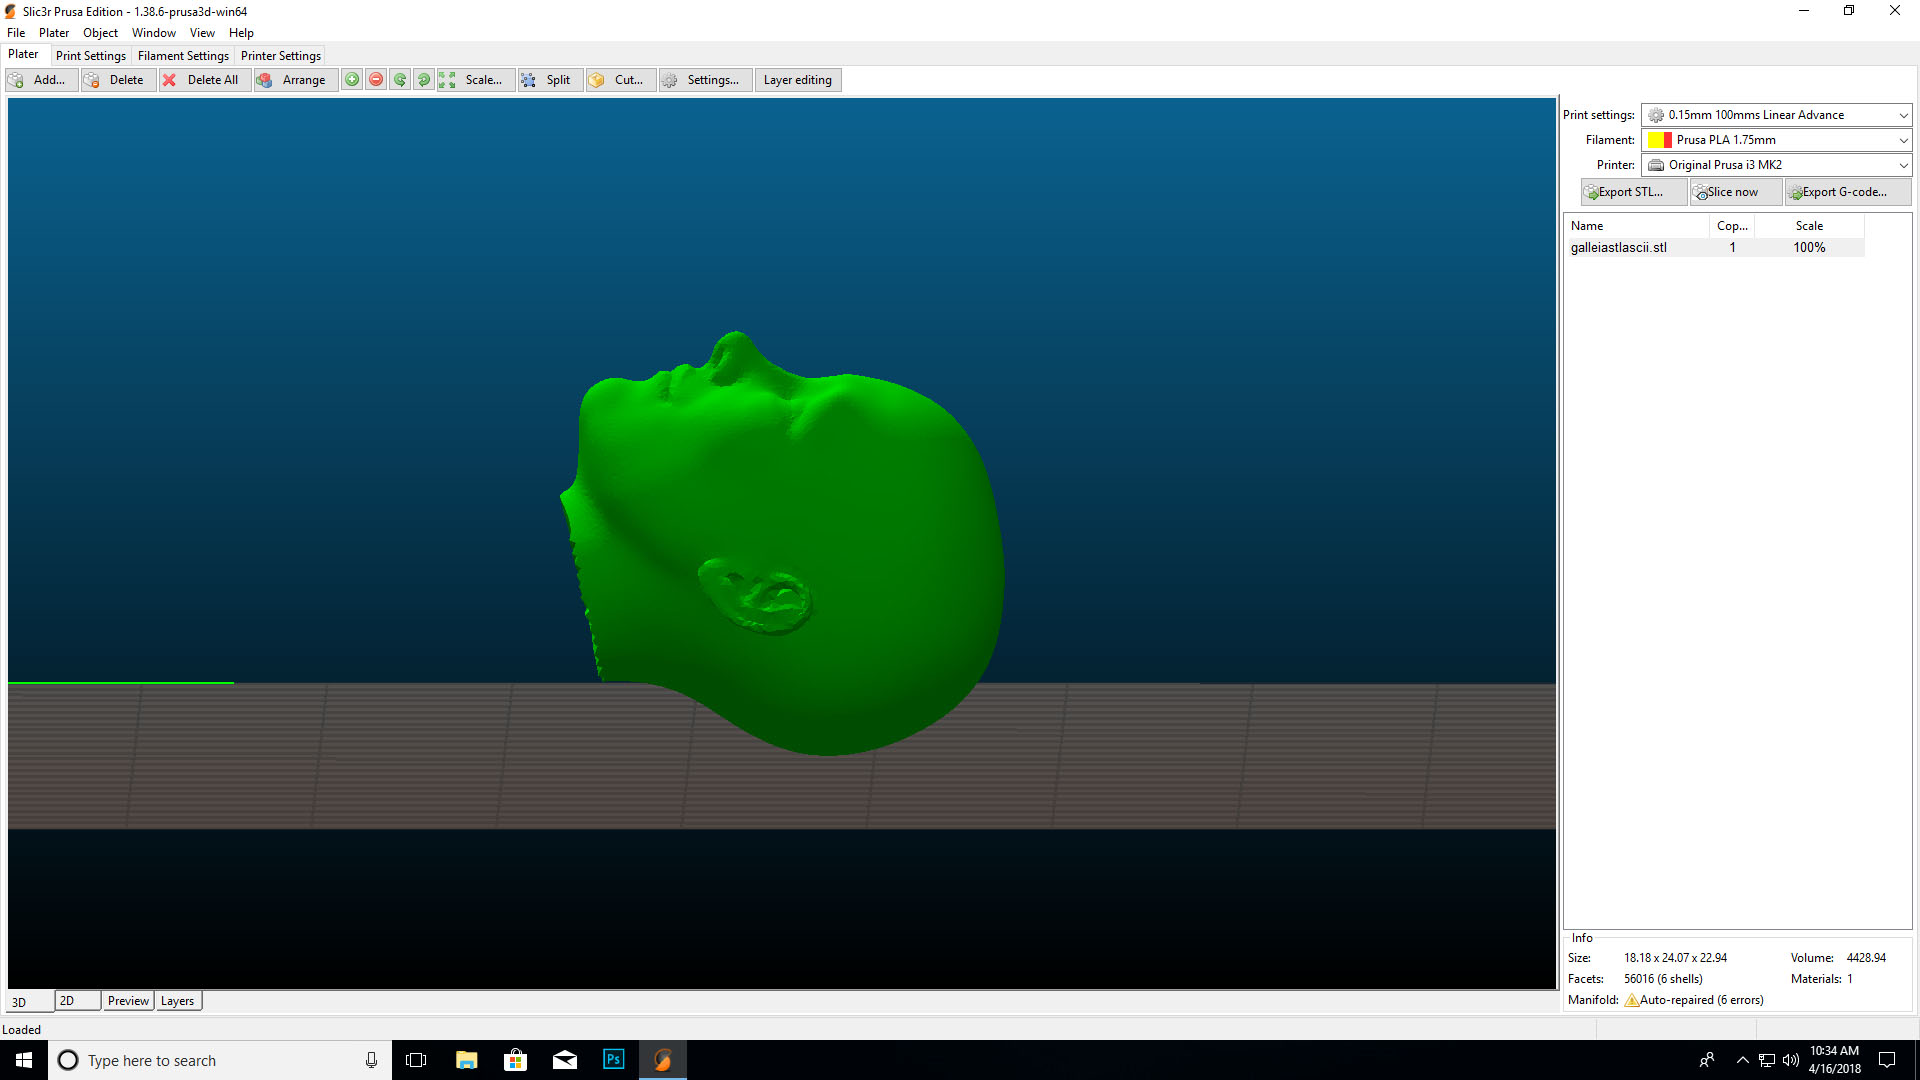
The lower righthand corner of the Slic3r window shows information about Galleia, including the dimensions in cubic millimeters.
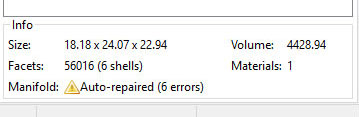
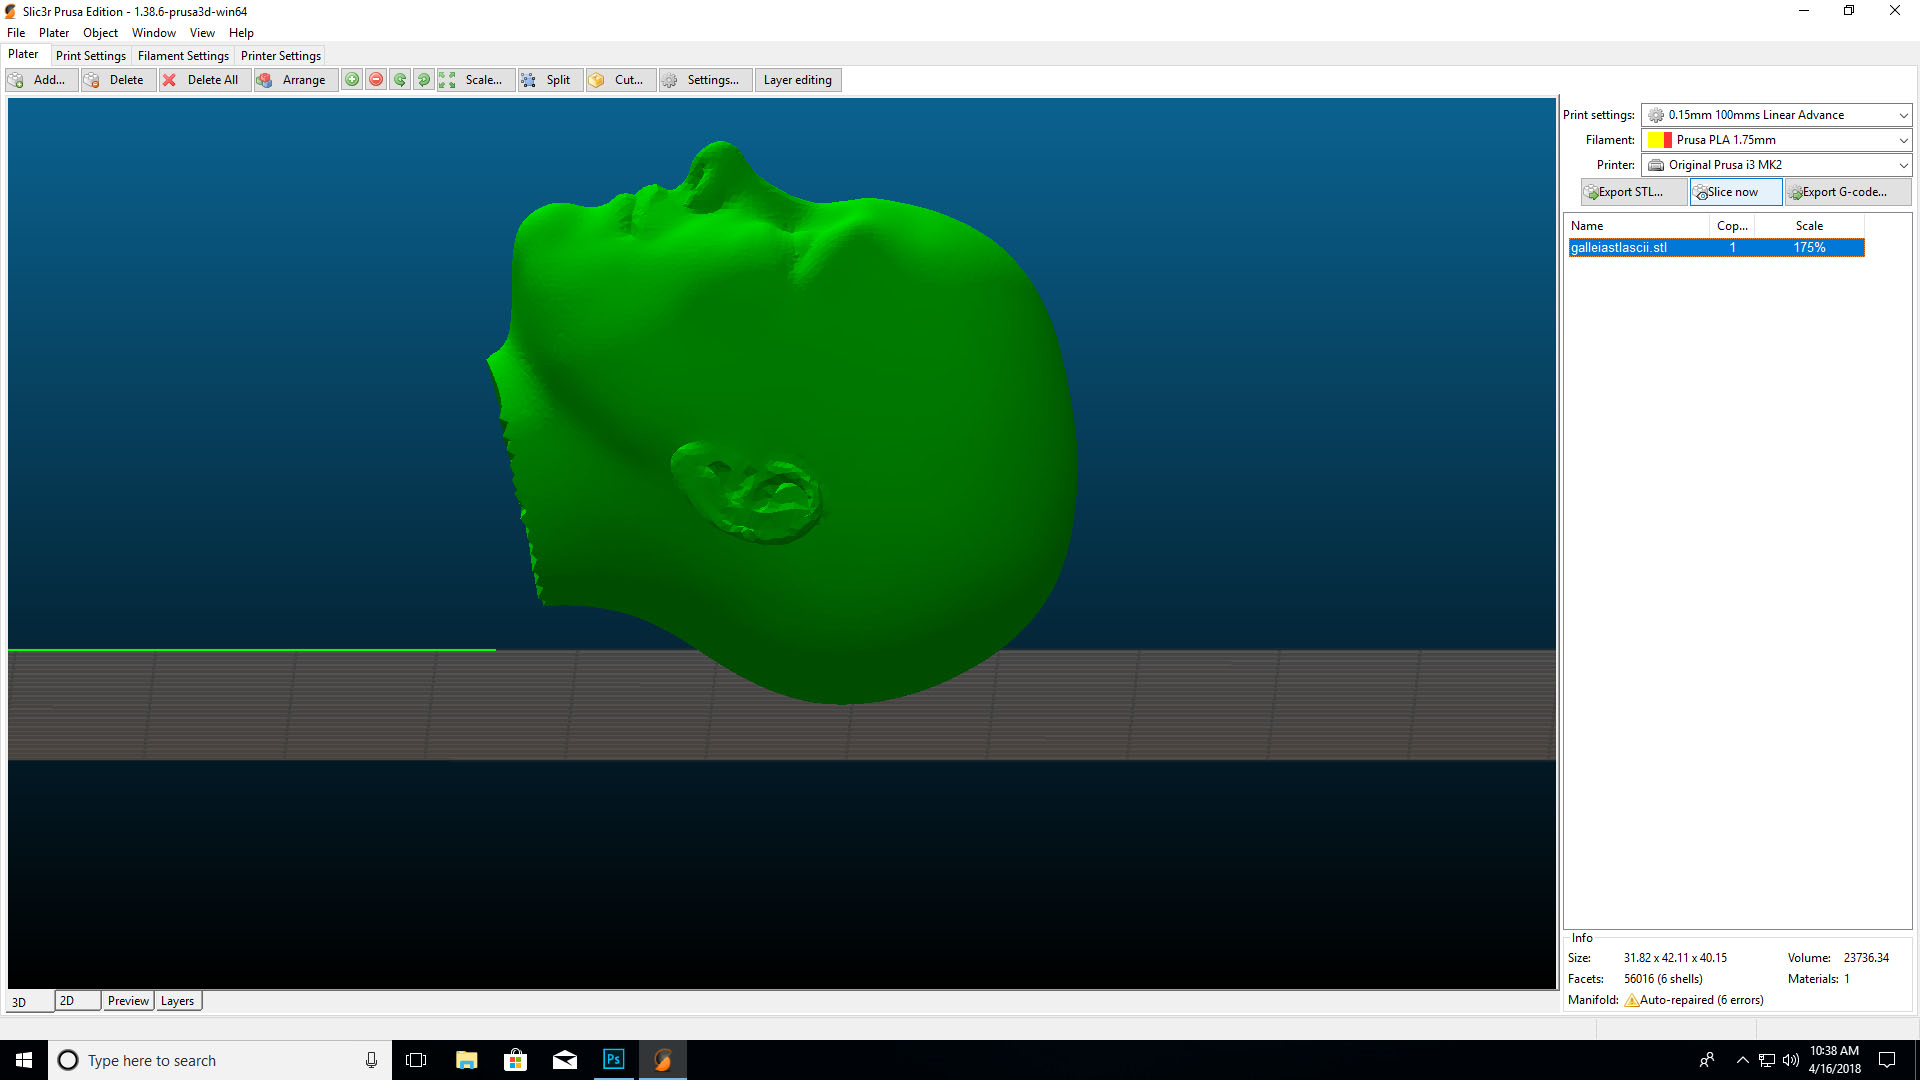
That was too small, so I scaled her up to 175%.
After that, I had the program break the model down into slices, i.e., horizontal layers, for printing.
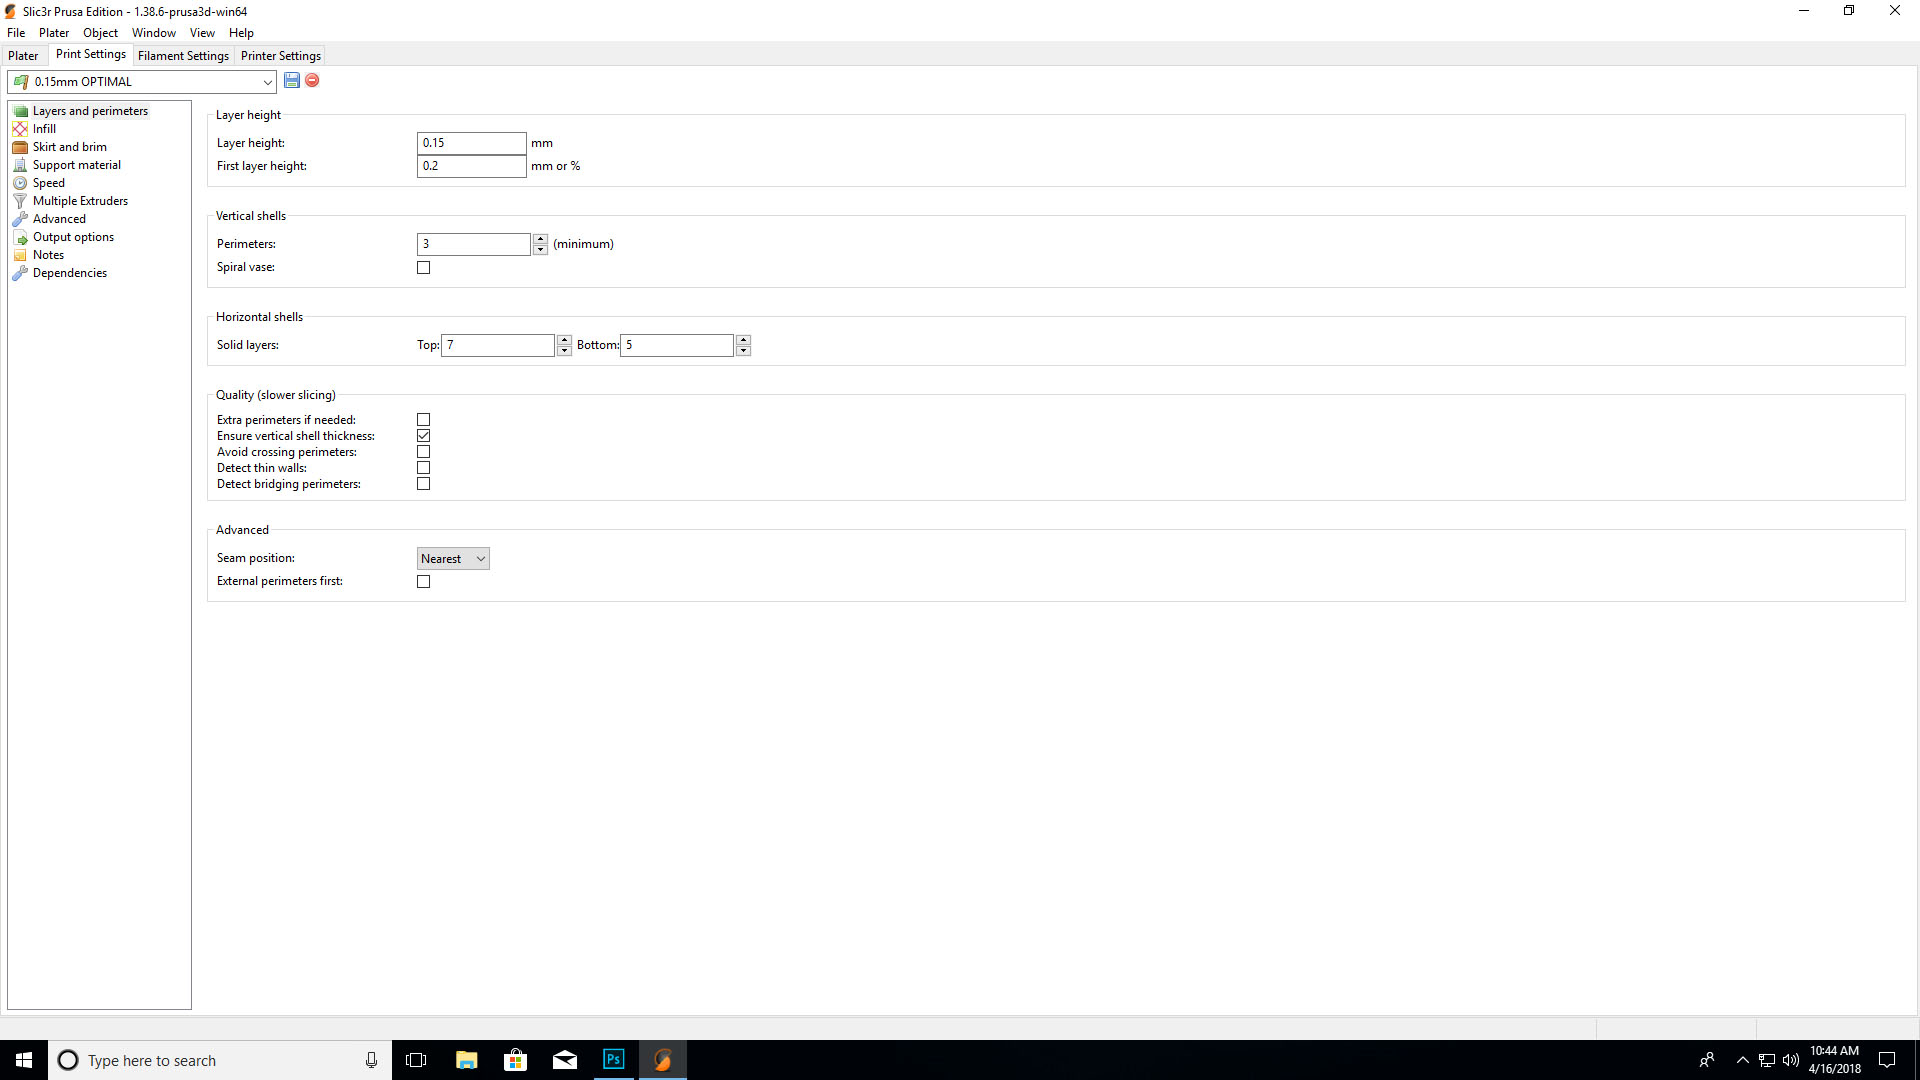
Here are the settings for the printer. If you squint, you can see that the layer height is 0.15 mm.
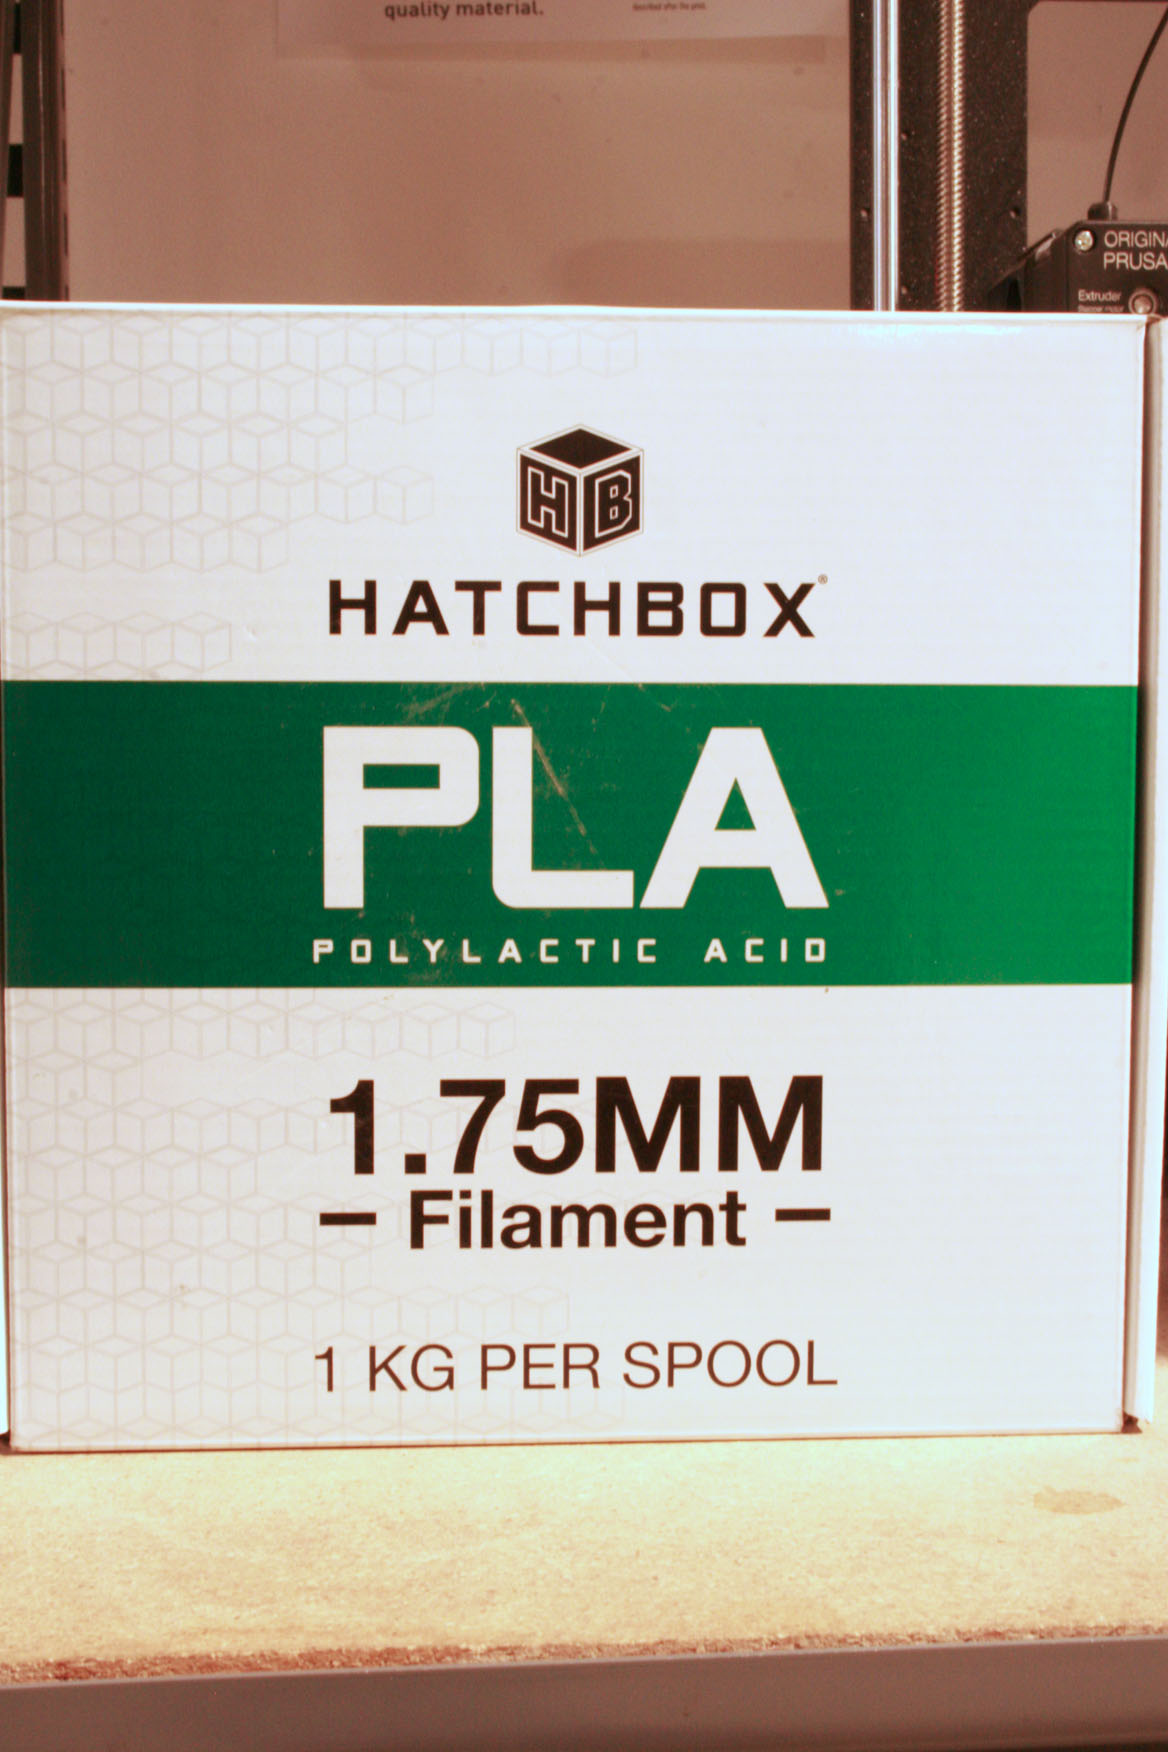
After that, I exported the prepared file to gcode, saved on a memory card, then stuck the memory card into the Prusa, threaded the filament, heated up the machine, and got to printing. Here’s the filament that I used to print my model.
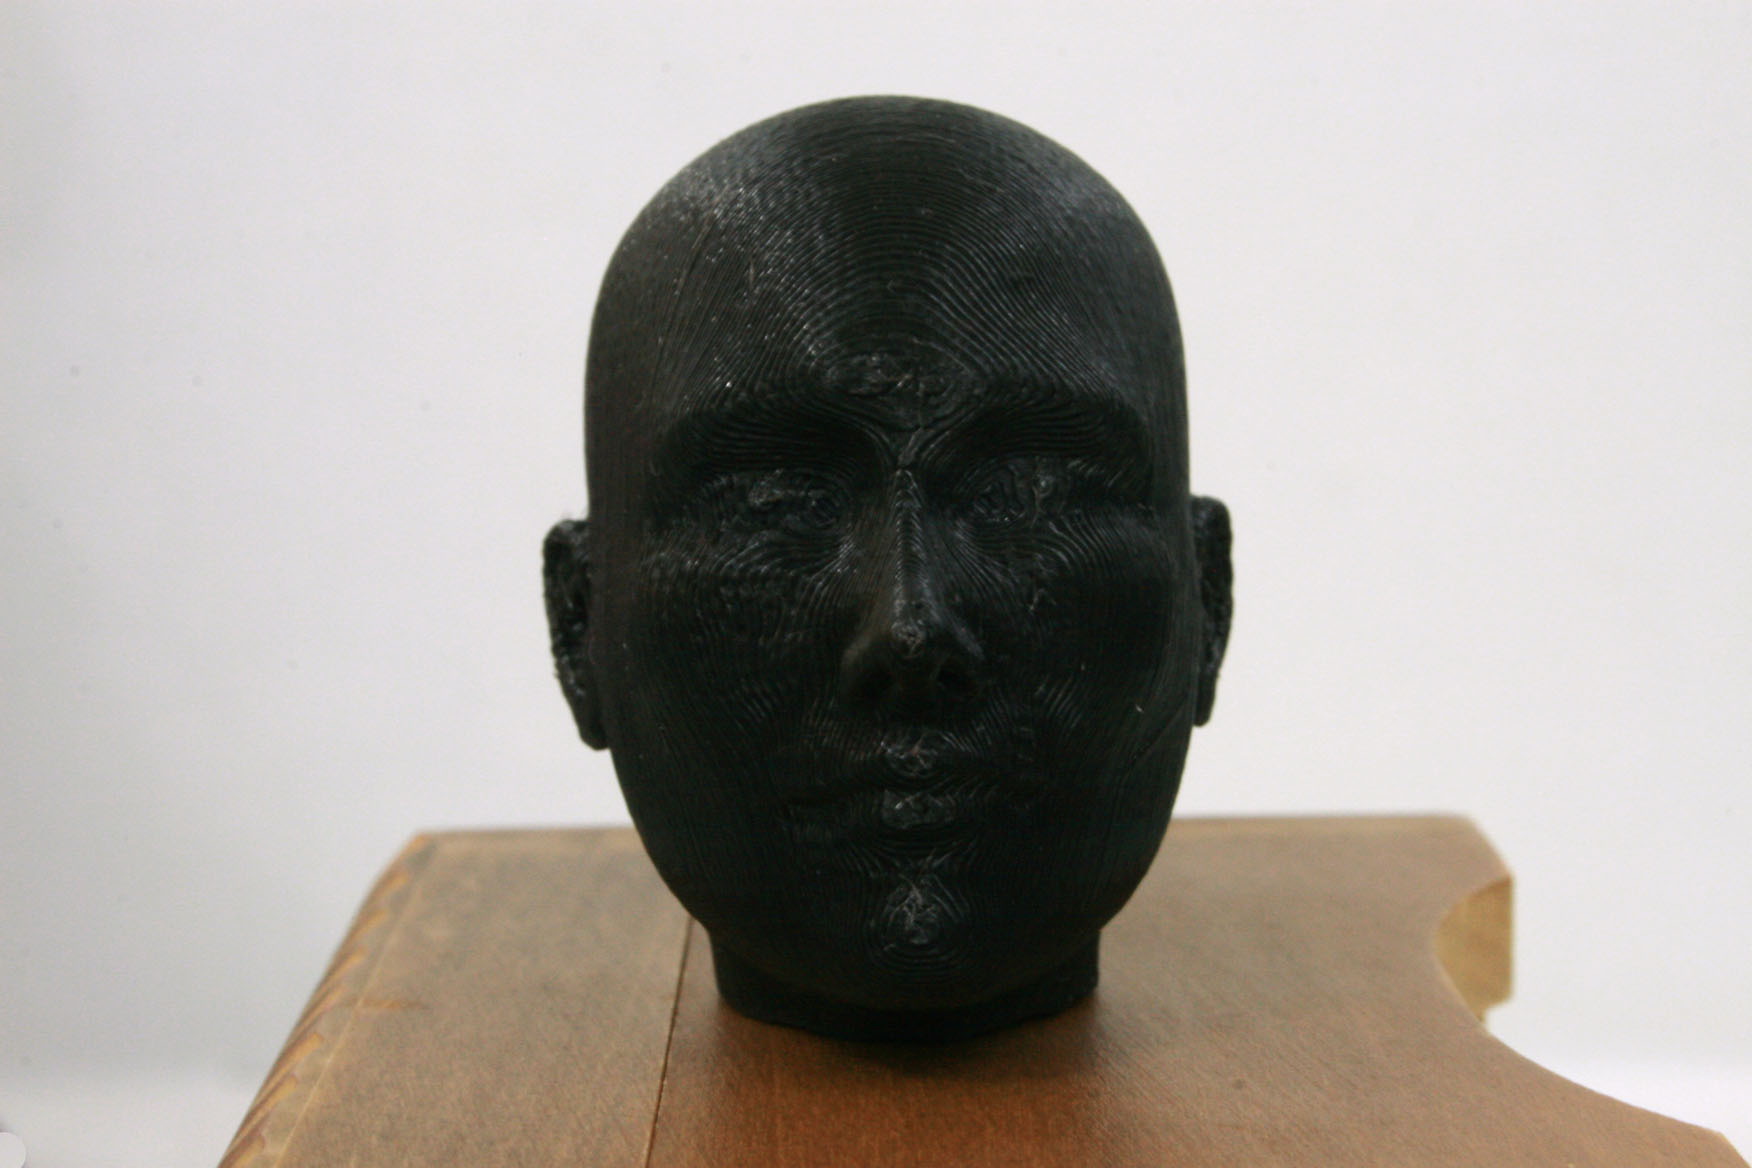
The Prusa produced a print with a surprising amount of detail. All the bits that I wanted retained, from the asymmetry of the brows to the shape of the cheekbones to the slight upward curves at the ends of the mouth, survived the trip from digital to print. The print was also much cleaner than that of the uPrint, with nearly no foreign material or print head glitches.
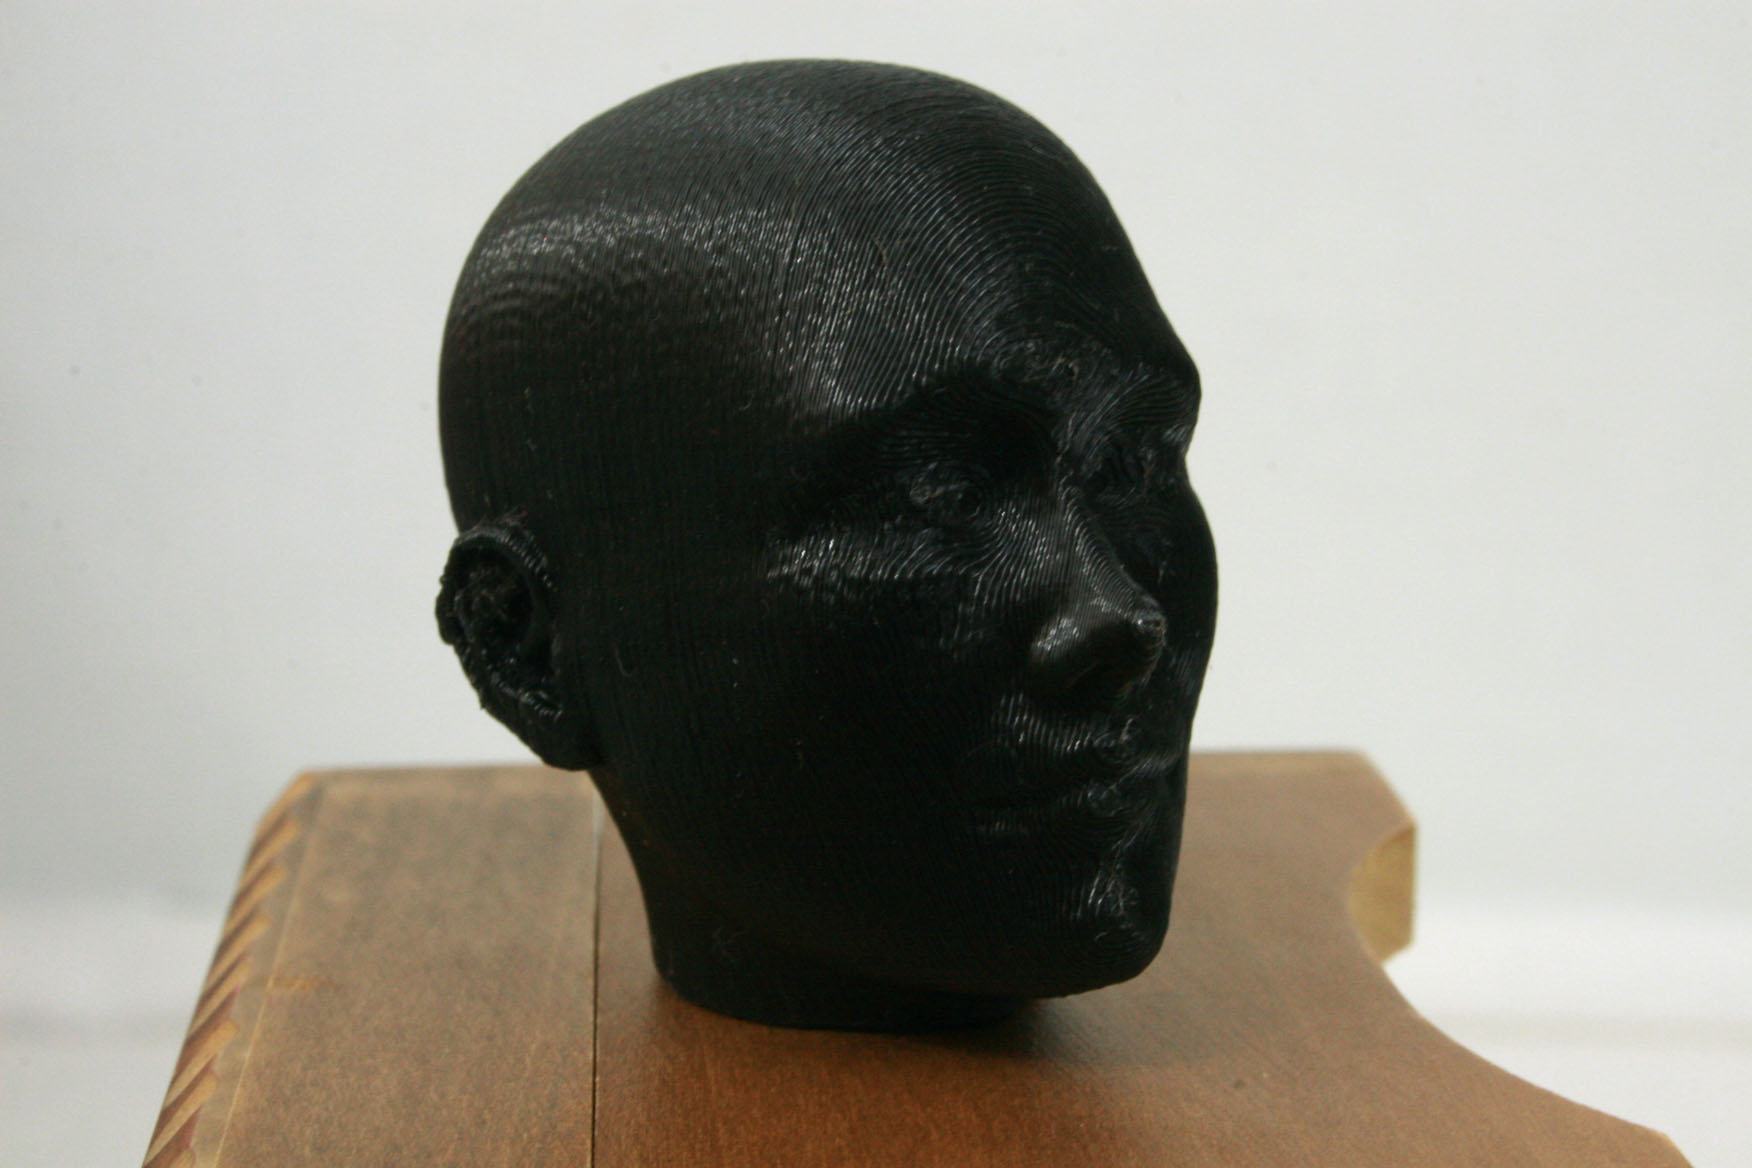
 The ears came out the worst, as you can see in the two photos below. Because she was printed lying on her back and her ears were sticking out, they required support material added below them. When I snapped off the supports, I also snapped off little chunks of her ears, leaving them pitted. If I had arranged her facedown on the print bed, support material would have been added all around her face, and its removal would have left her face as uneven as her ears.

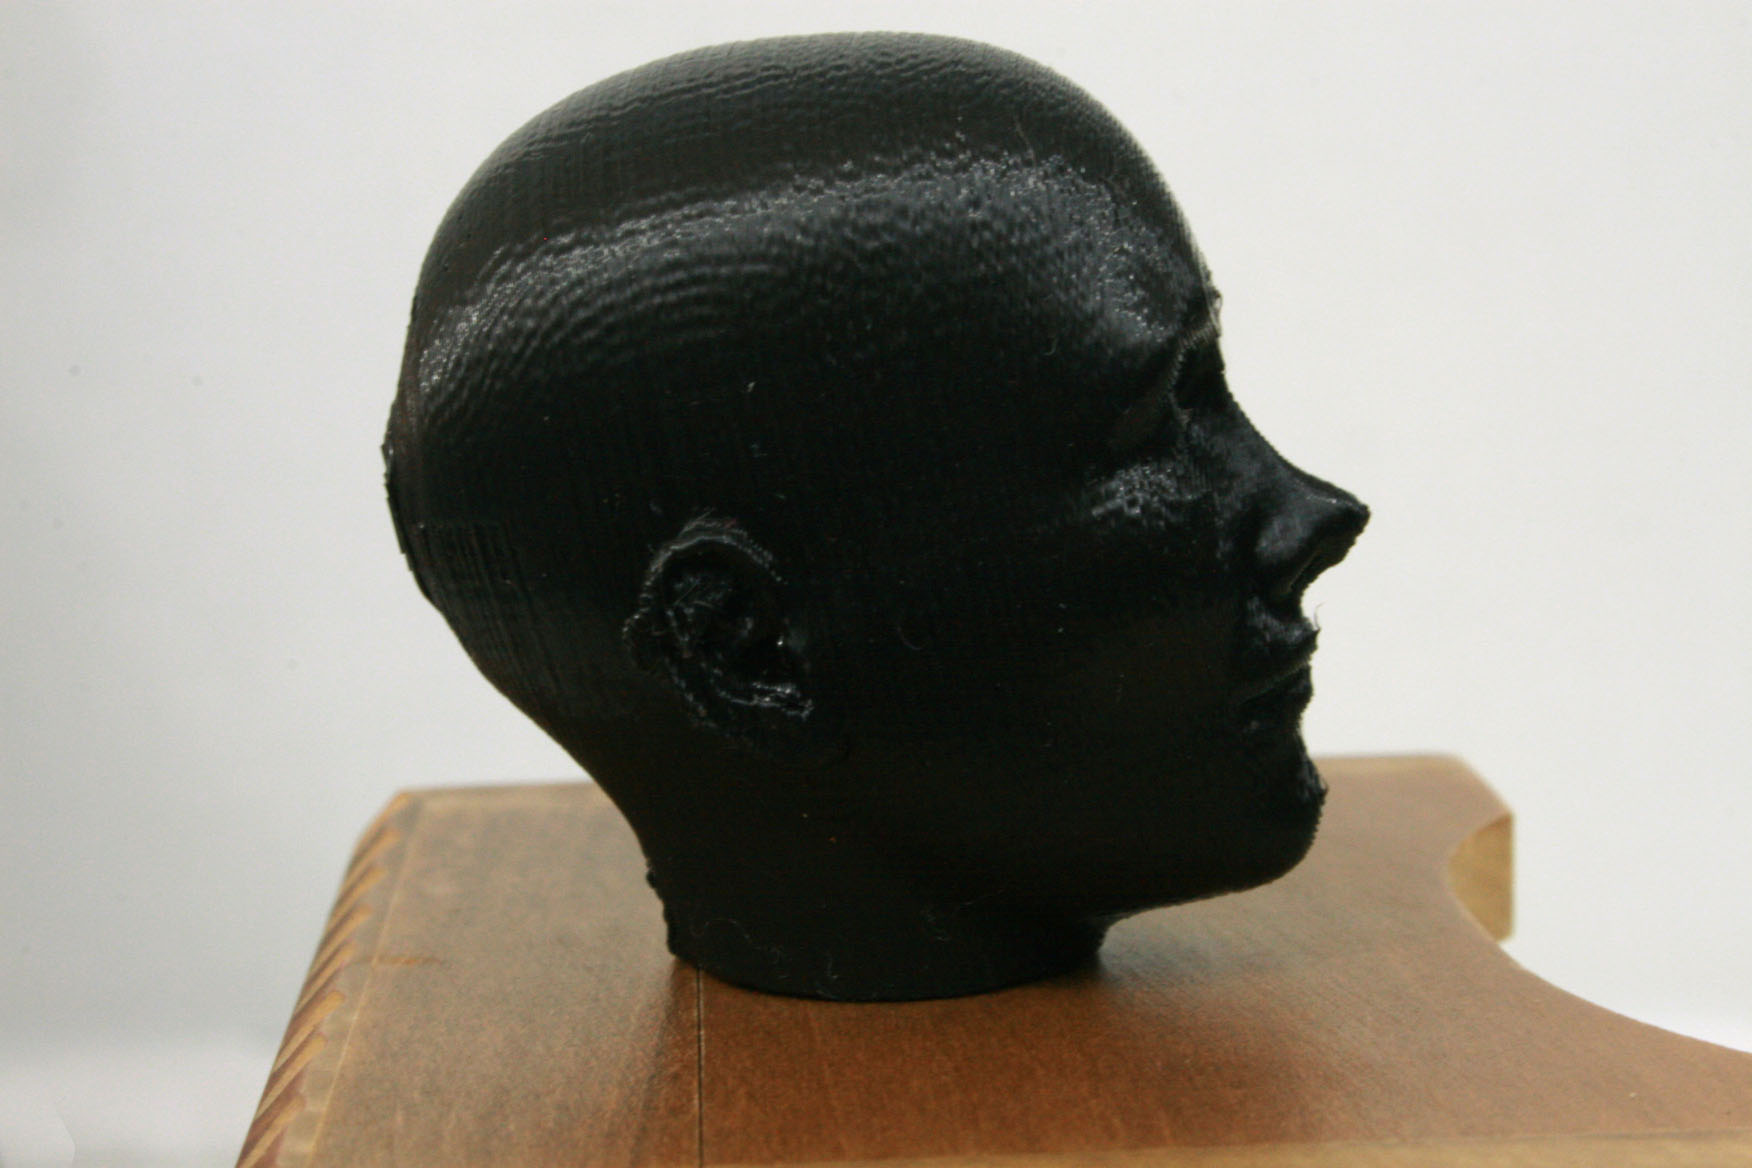
The picture below shows the fidelity with which the 0.15 mm layers of PLA captured her profile. Obviously things need a little filling in and smoothing, especially around the tip of the nose, the top lip, and the chin. However, this is damn impressive for a rough draft.
The pictures below compare the rough draft of Galleia to actual 1:6 scale doll heads. Both are repainted Fresh Dolls Mia heads, which are on the larger side for 1:6 scale fashion dolls.